
KF2 Burning Paris on Hell on Earth: Hotel Hold and Escapes
This is the second of the Spanish "Lost in Hell" HoE guides by Maincrah (June 2015, updated April 2016), this time for Burning Paris. It follows the same structure as the Biotics Lab guide: threats, early waves, high waves, escape routes and the boss. The author warns there is no spoiler censorship.
Team
- 2 Berserkers.
- 1 Support (3 Supports for Hans Volter).
- 3 Field Medics (two switch to Support for Hans).
The author plays Support.
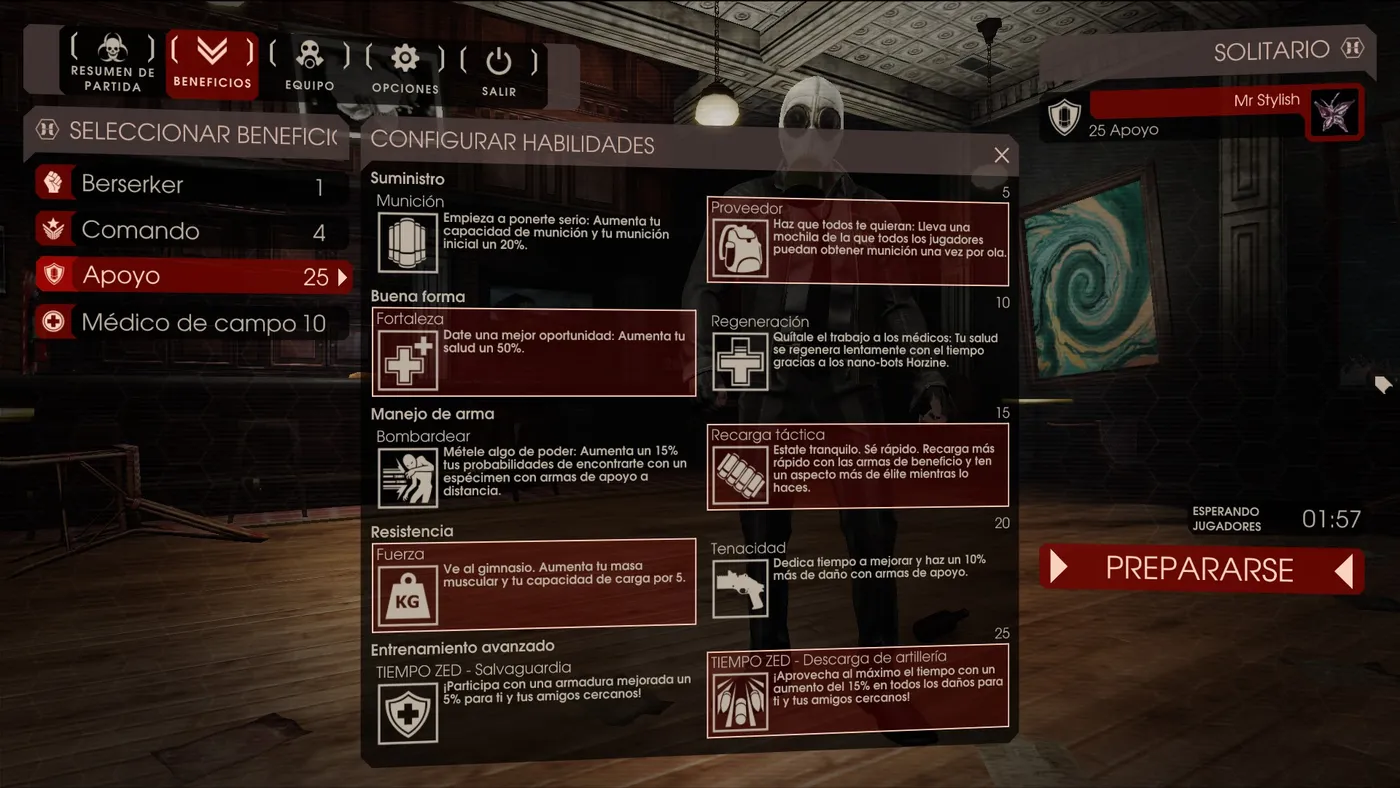 Skill choices aimed at survival, team benefit and plenty of ammo for final waves with 300 or more ZEDs.
Threat order
Husk > Siren > Fleshpound > Scrake > the rest.
- Husks: here the problem is not the flamethrower or fireballs but the self-destruct. Players are packed closely in the main zone, so one Husk can disable the whole team.
- Sirens: especially dangerous for Berserkers. Two or three Sirens do heavy damage and stop the Medic from healing them with grenades.
- Fleshpounds: not the biggest threat with this strategy. Medics must focus the Berserkers so they do not die, because otherwise Fleshpounds can enter the shelter and wipe everyone with area damage.
- Scrakes: high damage but not a big threat since the team stands in one zone and they last only seconds.
First waves
The first wave is the first contact with the team in a public server. See which classes you have, and pick the zone. The author uses the starting area.
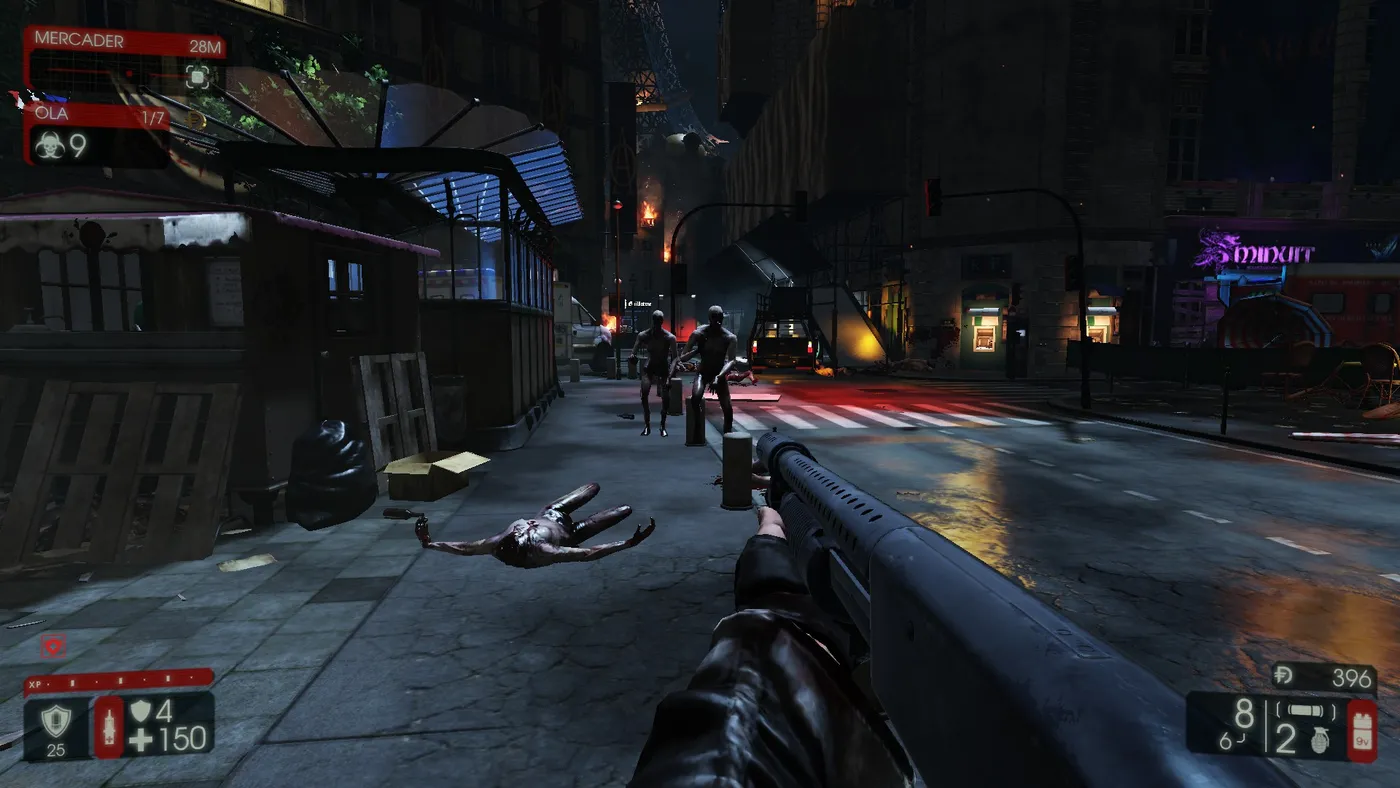 The starting area.
The location is not the door in front in the picture, but the one behind on the left.
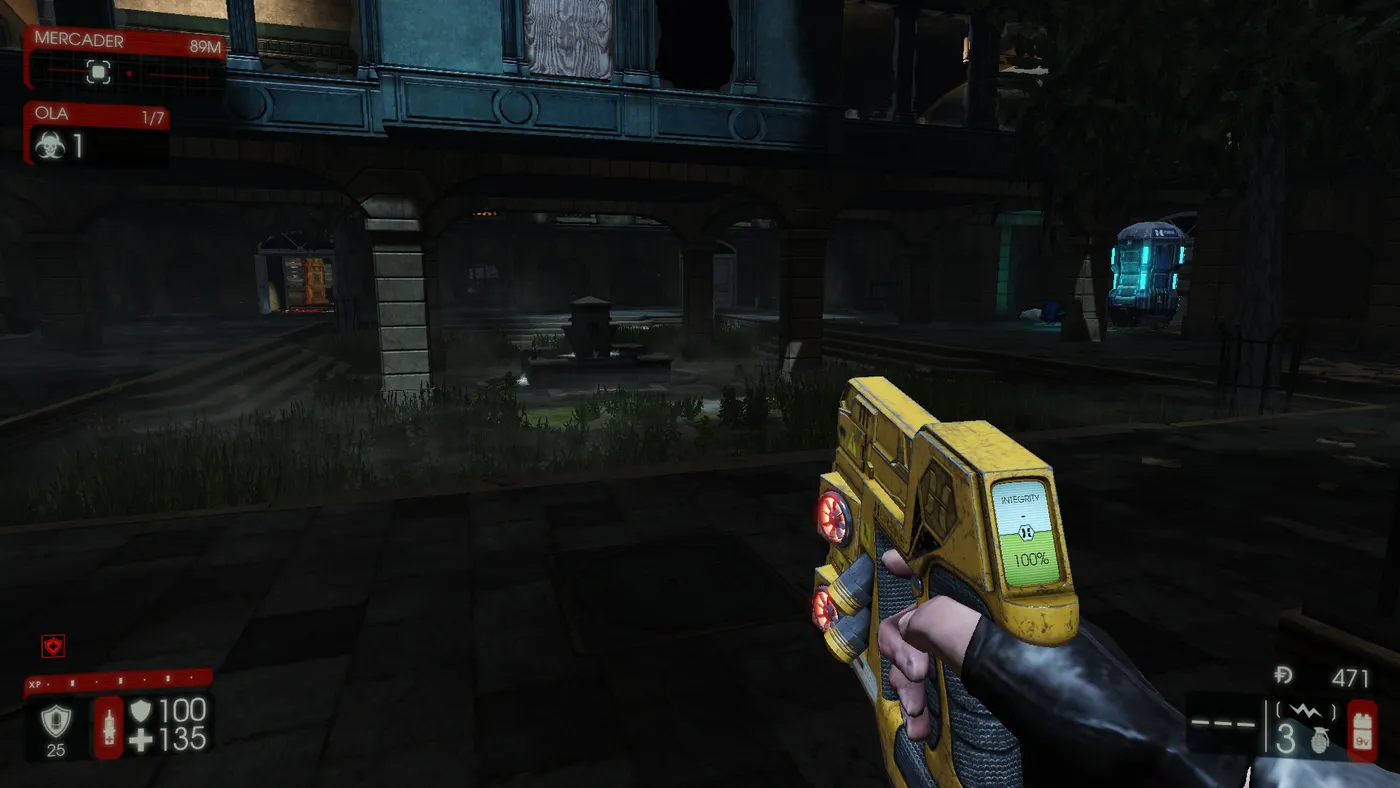 Clarification of which door.
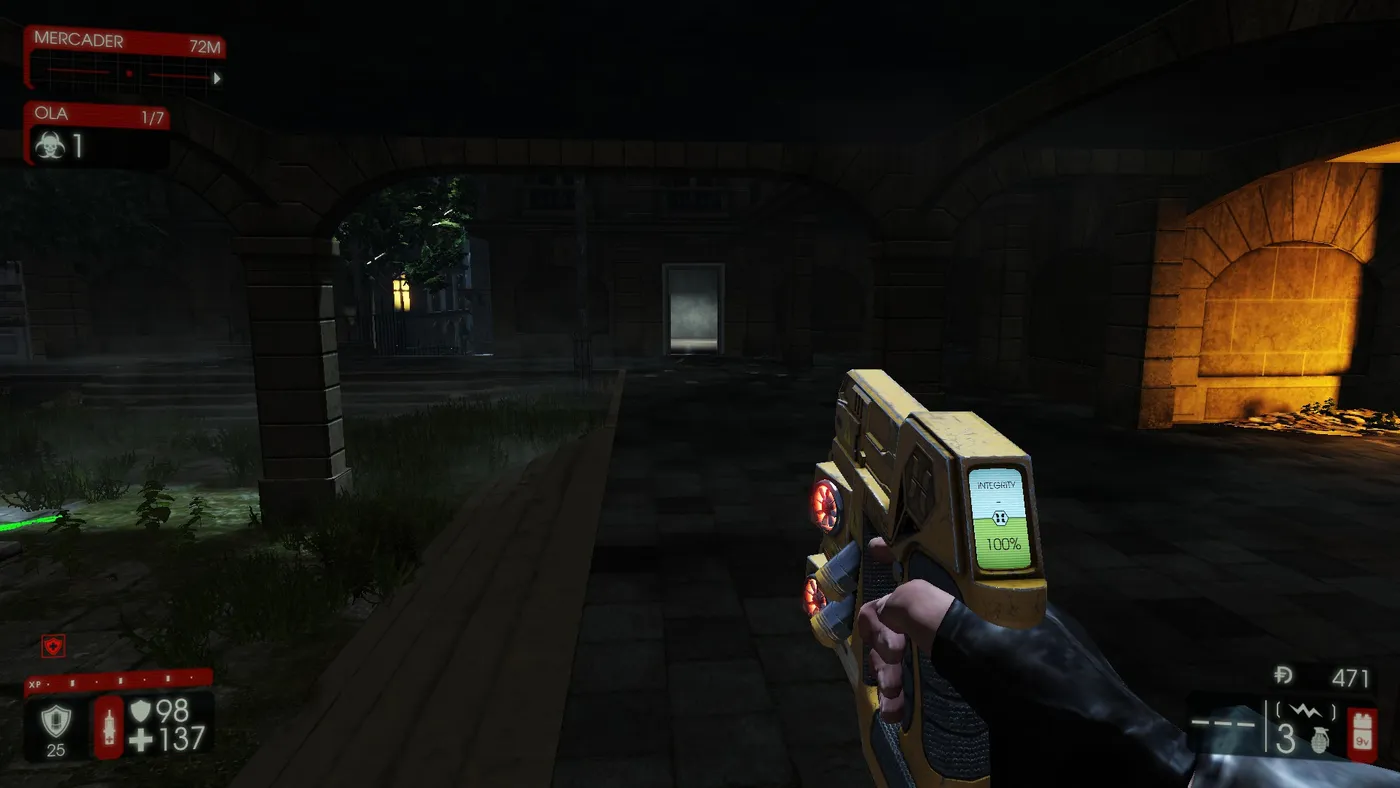 The entrance zone.
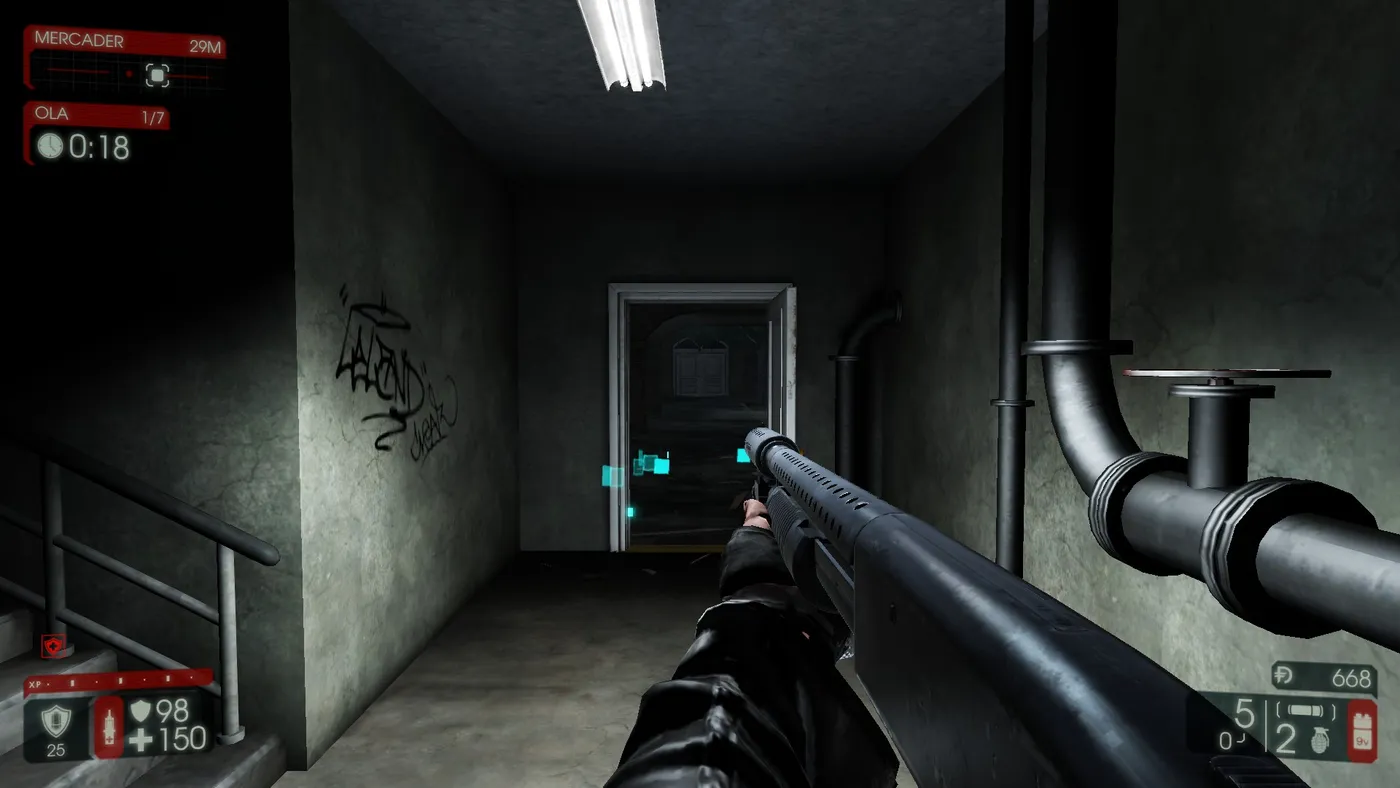 The point where the whole team stands.
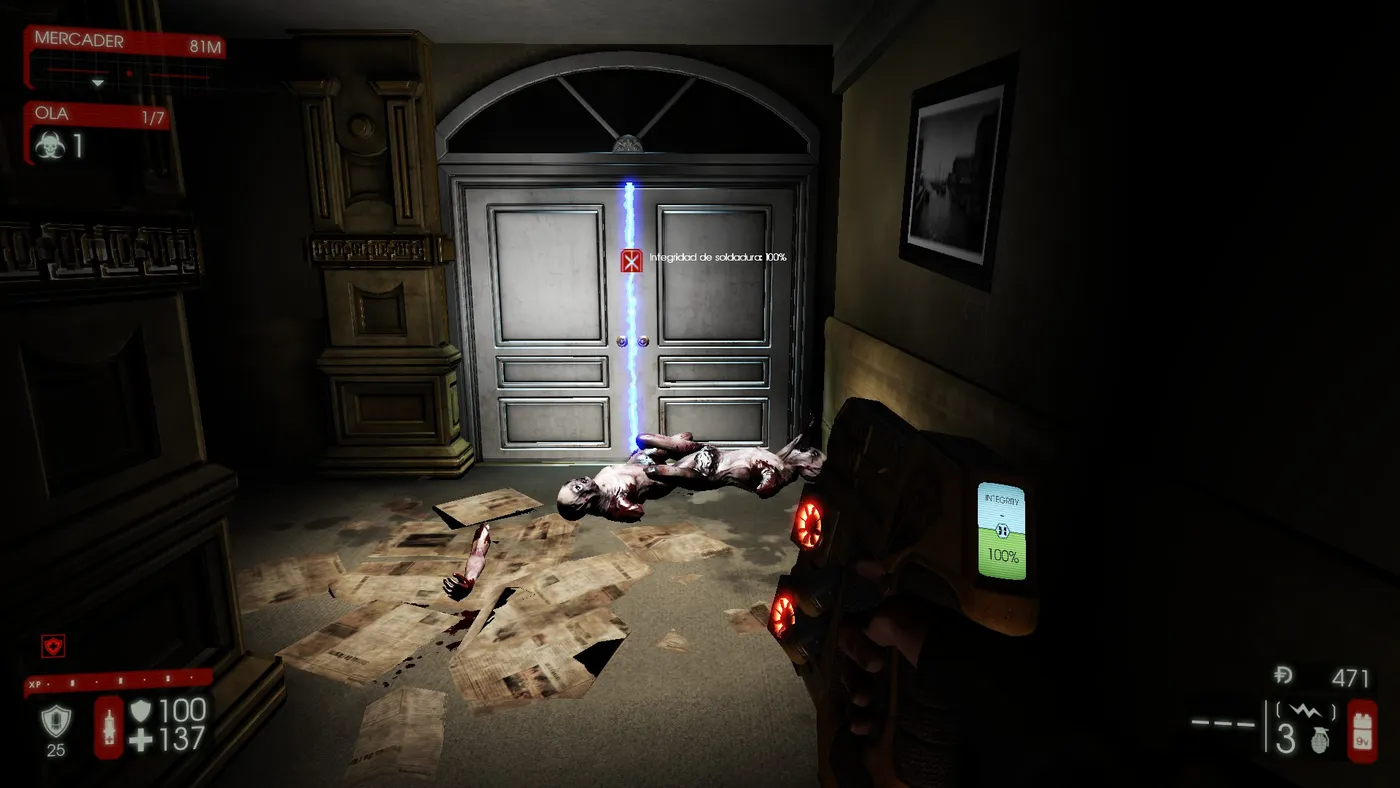
This room has a staircase to the floor above, with a door that must be welded. Stay away from it so ZEDs do not hit and destroy it. One teammate should check now and then that it is still welded and that no ZEDs are on the other side. If there are some, warn the team to prepare in high waves. In general ZEDs tend to ignore this door.
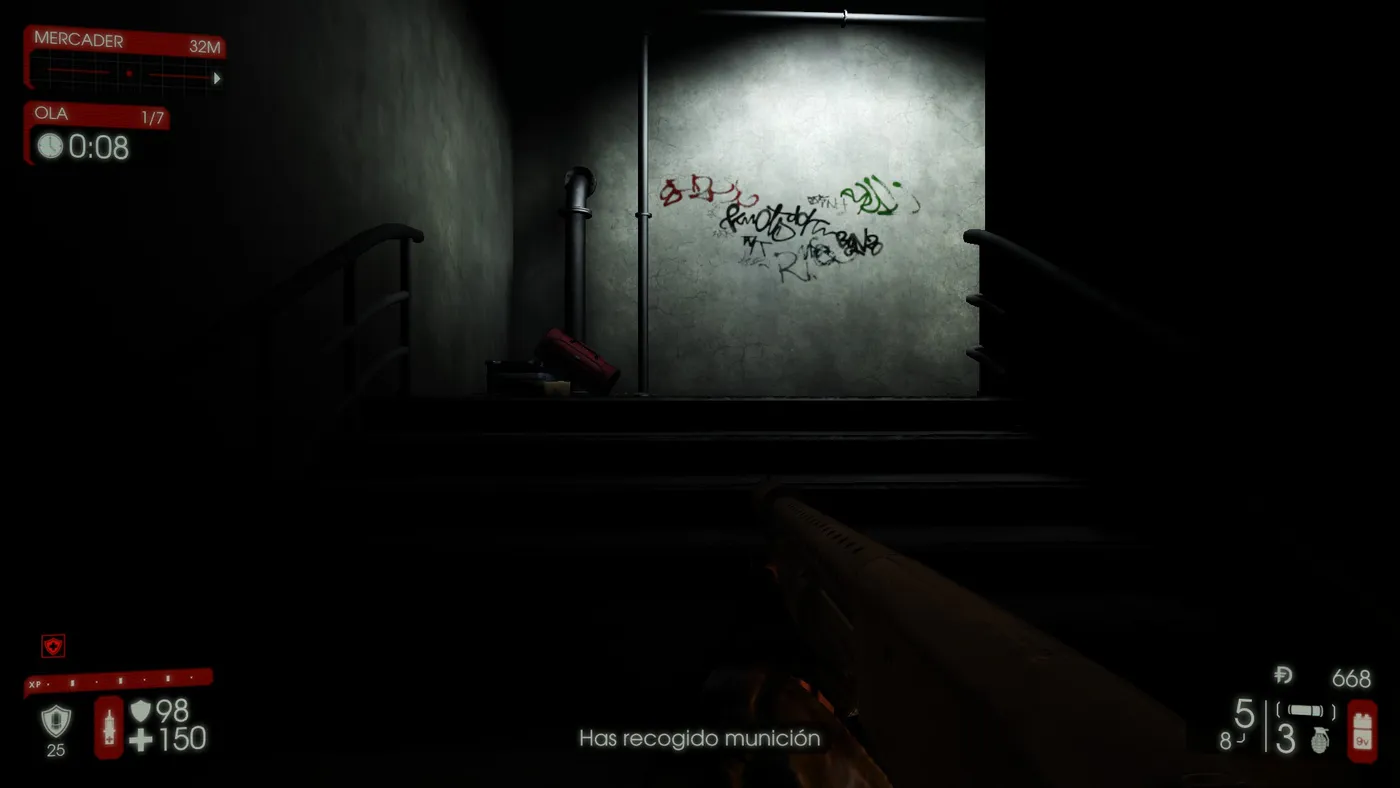 The door to weld.
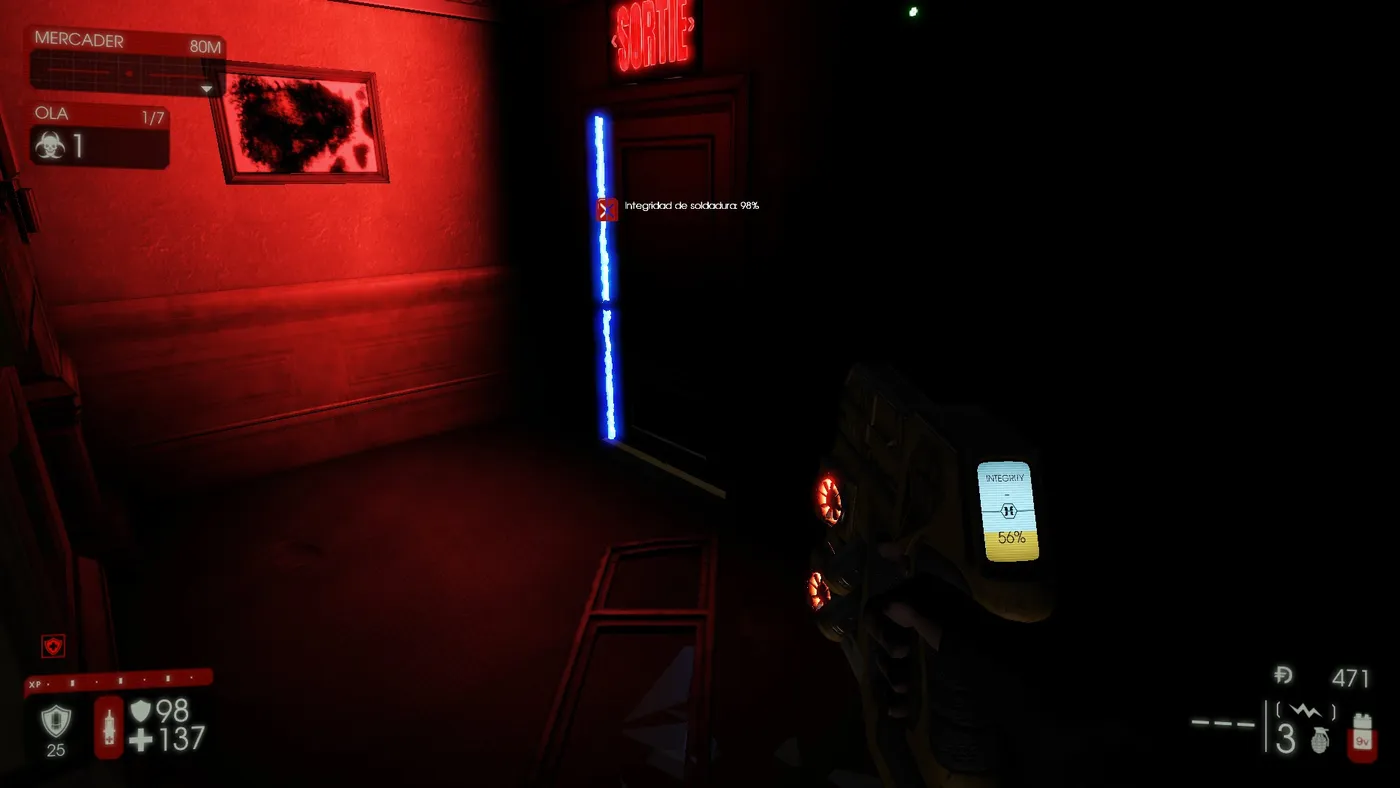 The same door viewed from the upper floor.
Positions
- The two Berserkers stand one each side of the door, dealing heavy damage and stopping ZEDs from entering.
- The Support stands behind next to a Medic, one each side of the corridor, hunting Husks (the Medic can be replaced by a Commando).
- The two remaining Medics are at the end, against the wall, healing everyone and throwing grenades when many enemies bunch at the door. One of them goes up occasionally to check the upper door, not too often, so as not to attract a ZED.
High waves
If the first zone works, stay. If any element fails (upper door, health, positioning), change zones. The author's best alternative is above the garden, at the exit of the hotel on the upper floor.
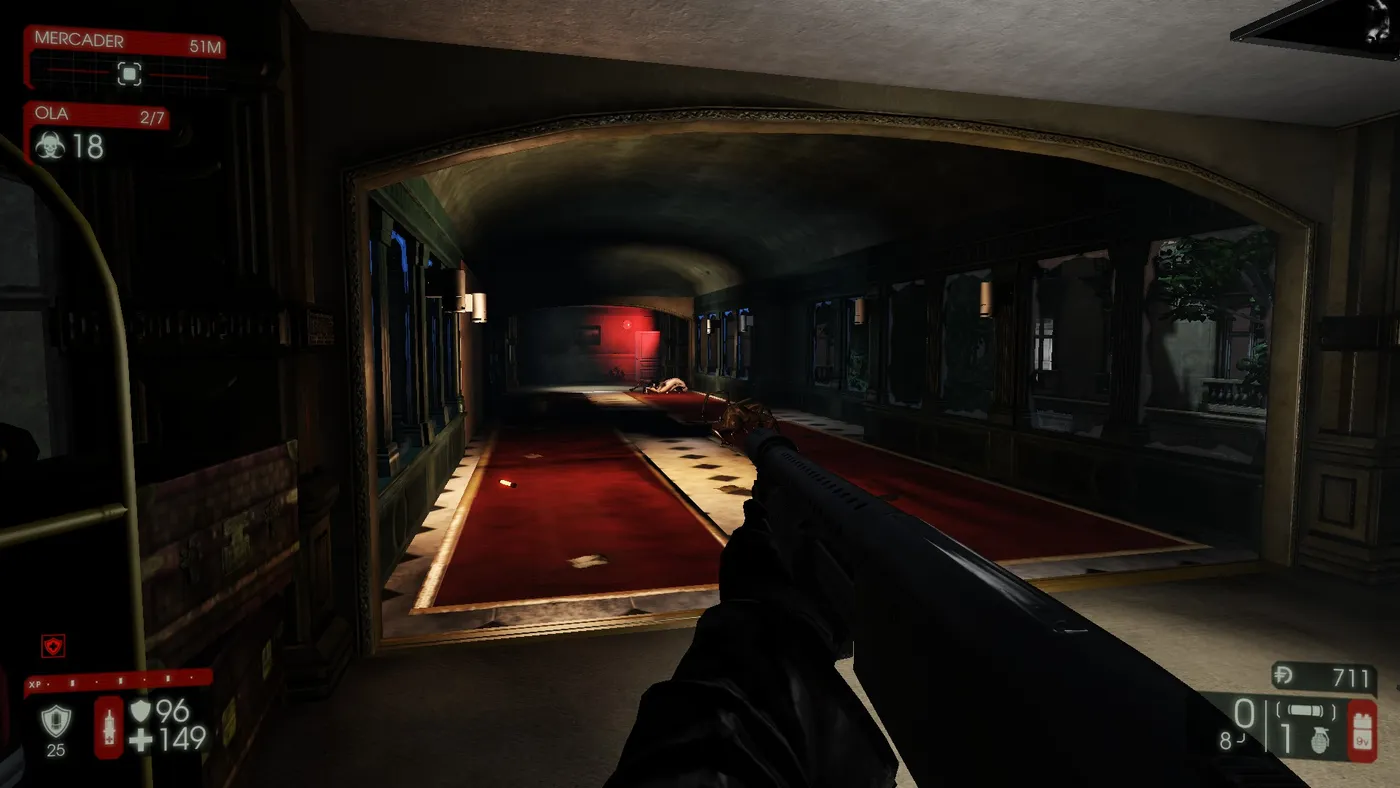 The alternative hold above the garden.
From here you control the whole bridge and the right corridor. Medics stand where the character is in the picture to watch allies on the bridge or in the corridor. Supports go mid-corridor, and Berserkers just in front of them. In the right corridor only one ally is needed, any class except Medic unless it is an emergency.
 The right-hand corridor.
Keep that door welded at all times: ZEDs then ignore it and take a longer route, and you will not face the whole mass head on. Note: with four or fewer players, go straight to this point, which gives more reaction time and better escape via the windows.
Escape routes
Routes are presented with more pictures than in the first guide. They depend on where you are.
From the starting zone
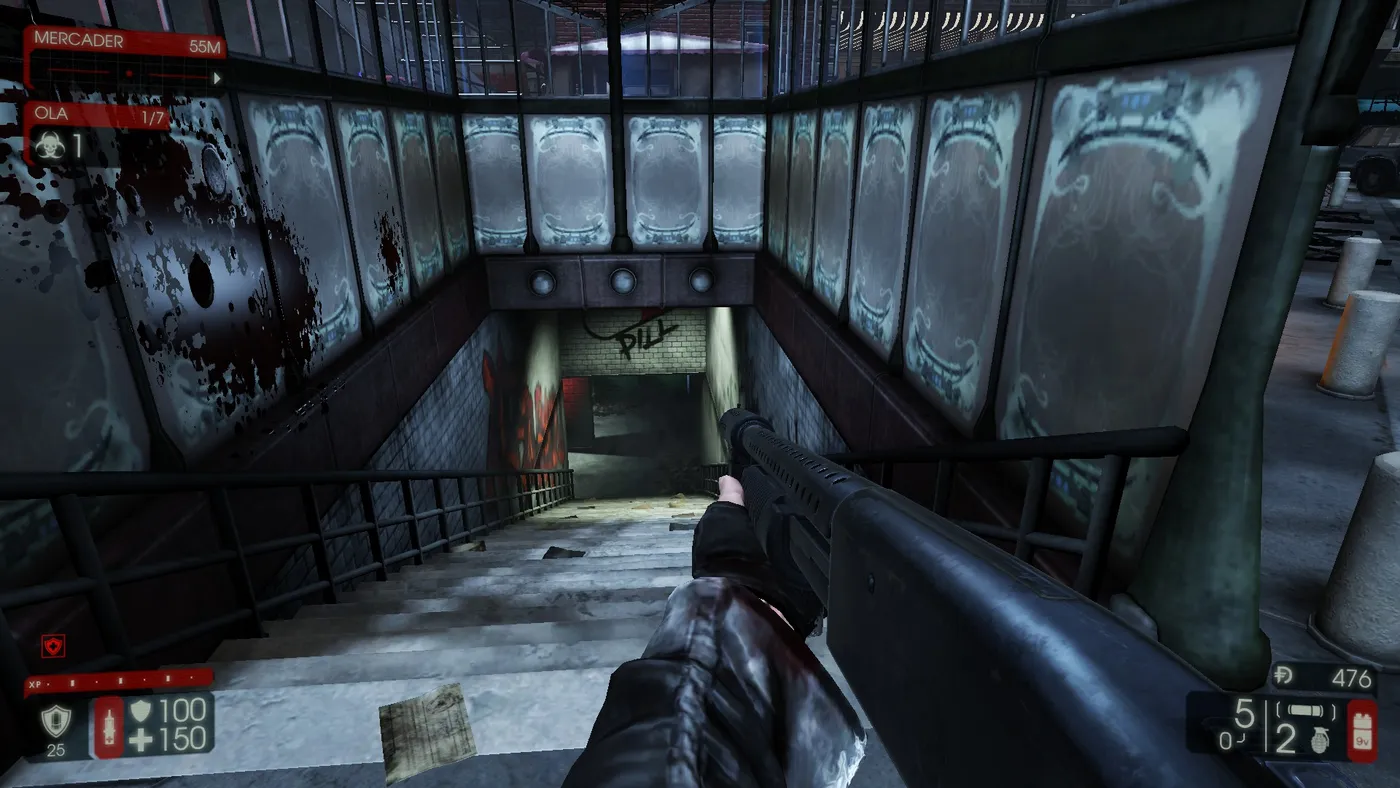 Go down the metro stairs.
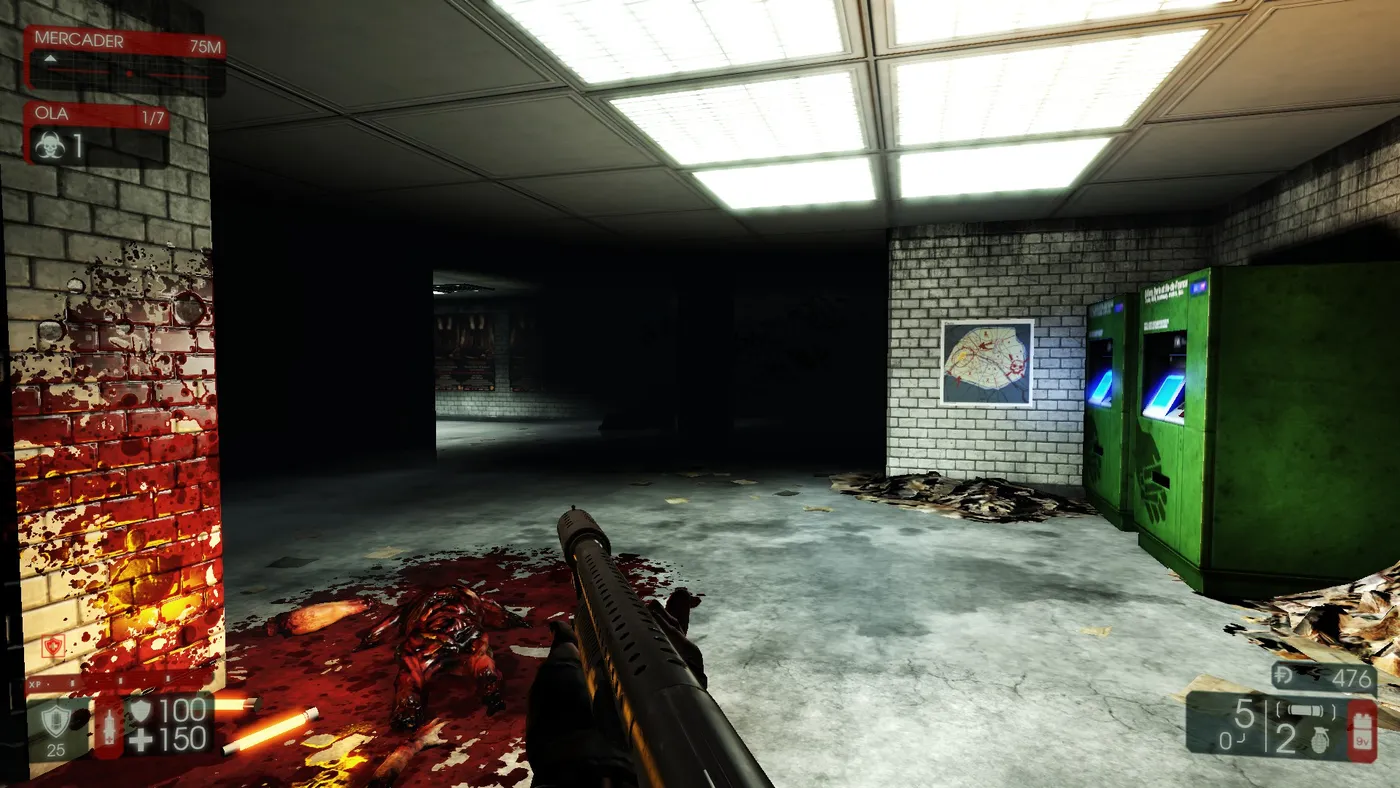 Continue through the metro to the next room.
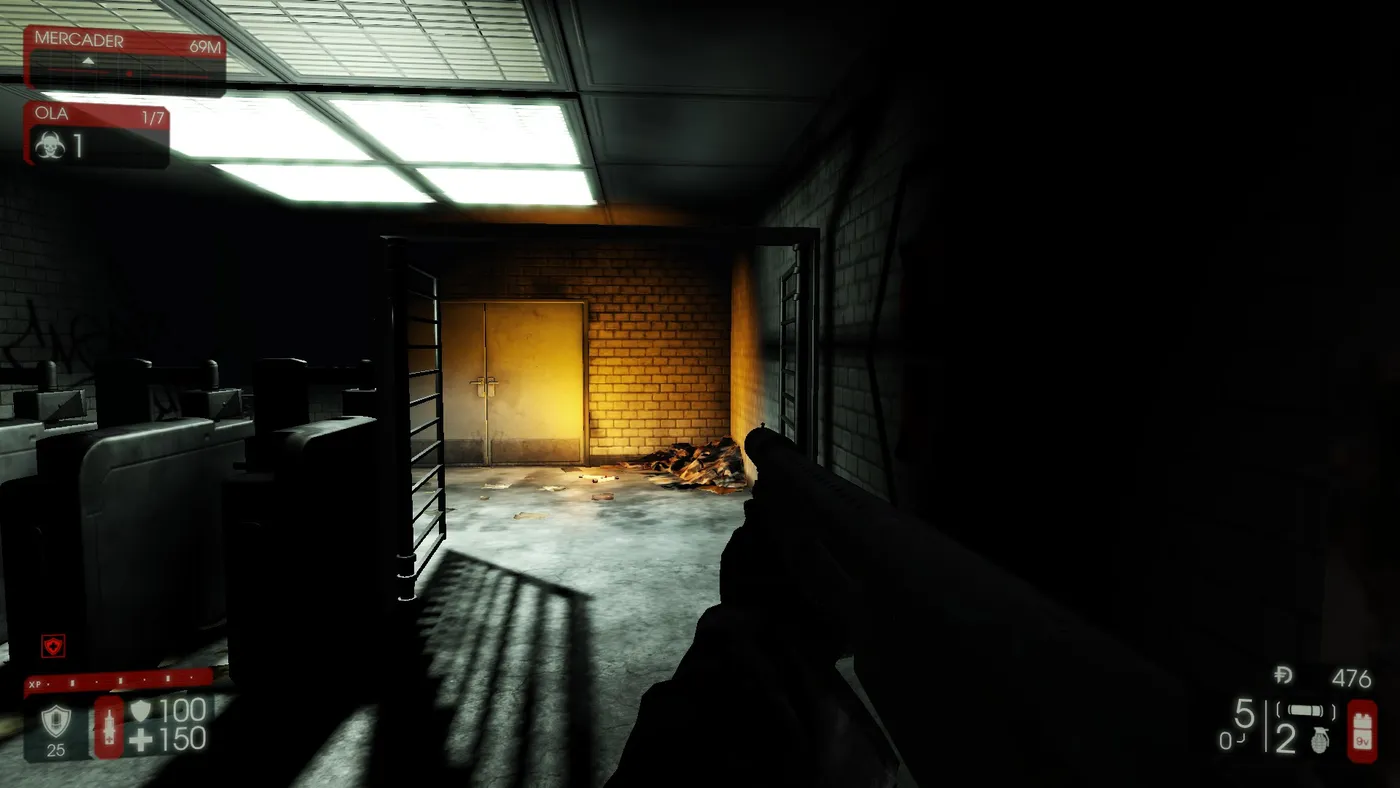 Go through the door where the train cars are.
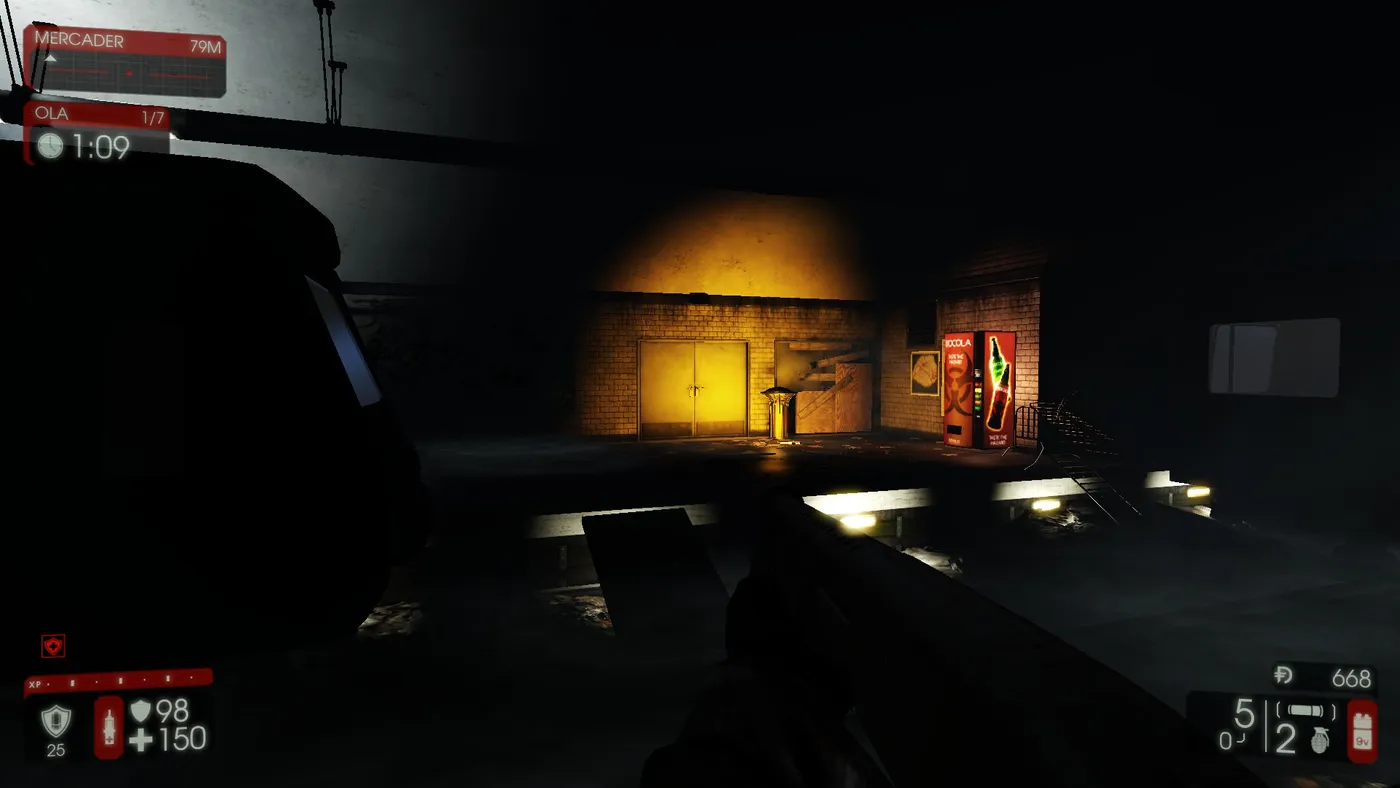 Cross the room to the next door.
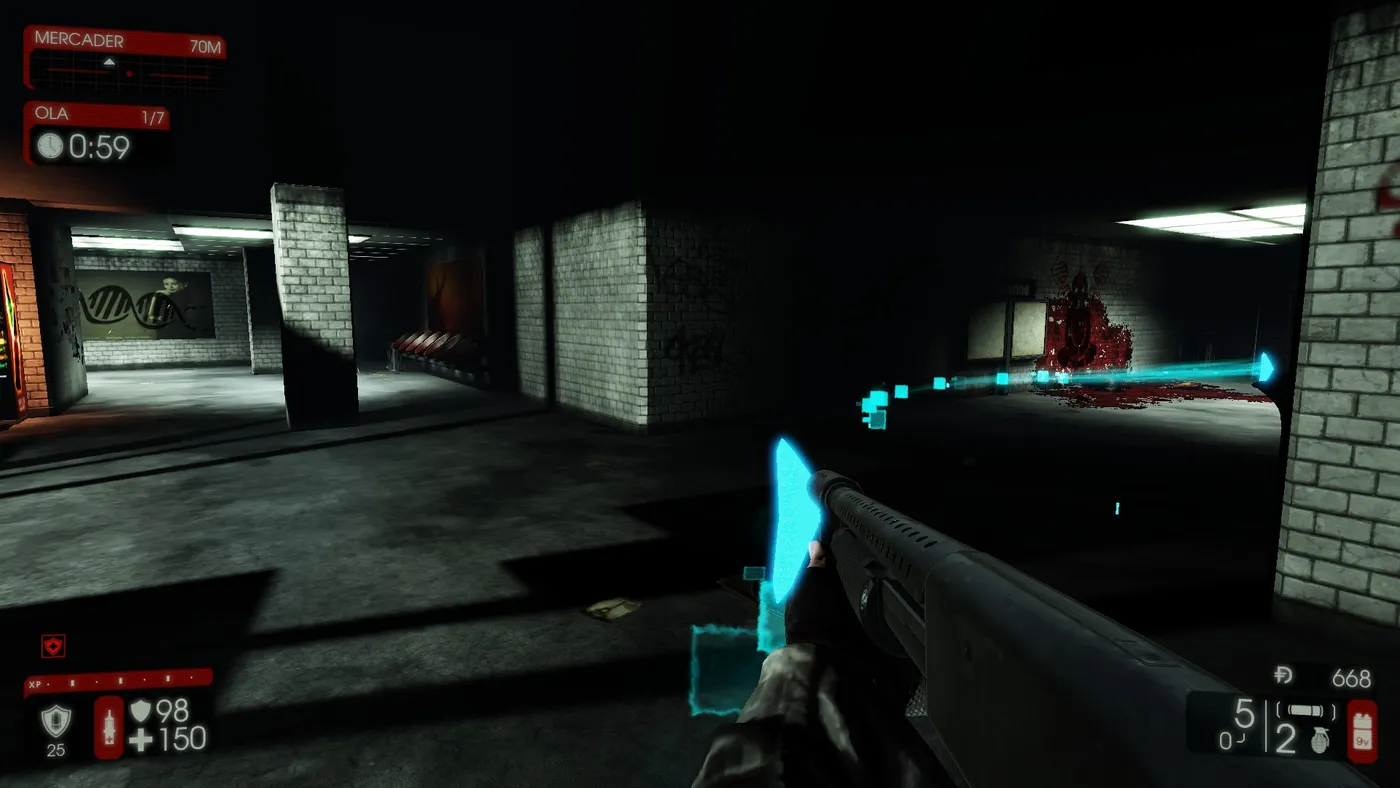 Turn into the hallway on the right.
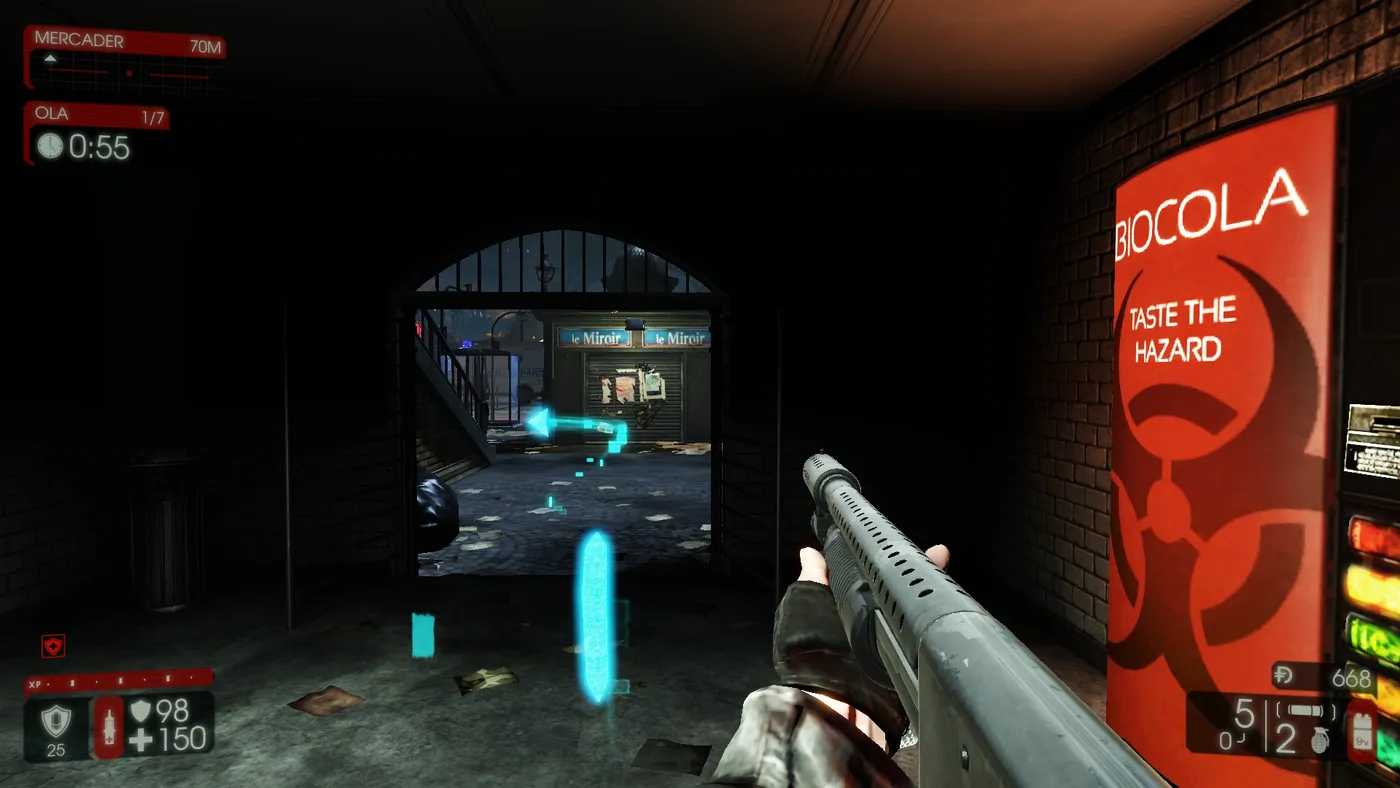 Go out to the streets.
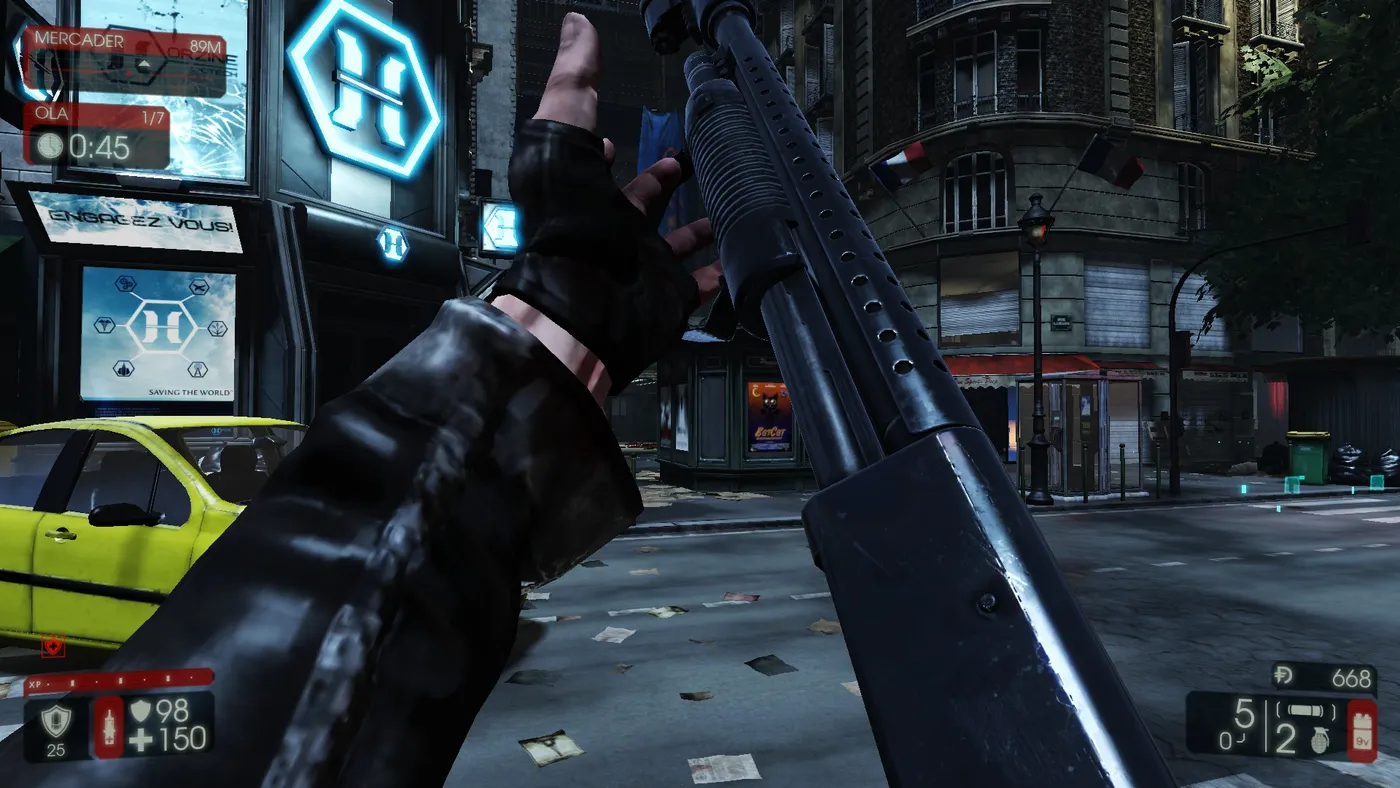 Defend by the Eiffel Tower until the end of the wave.
From the door zone
Clear ZEDs from the room exit, go to the door ahead on the left that leads to the upper floor, climb the stairs, cross the room, then stop at the end of the corridor and defend there.
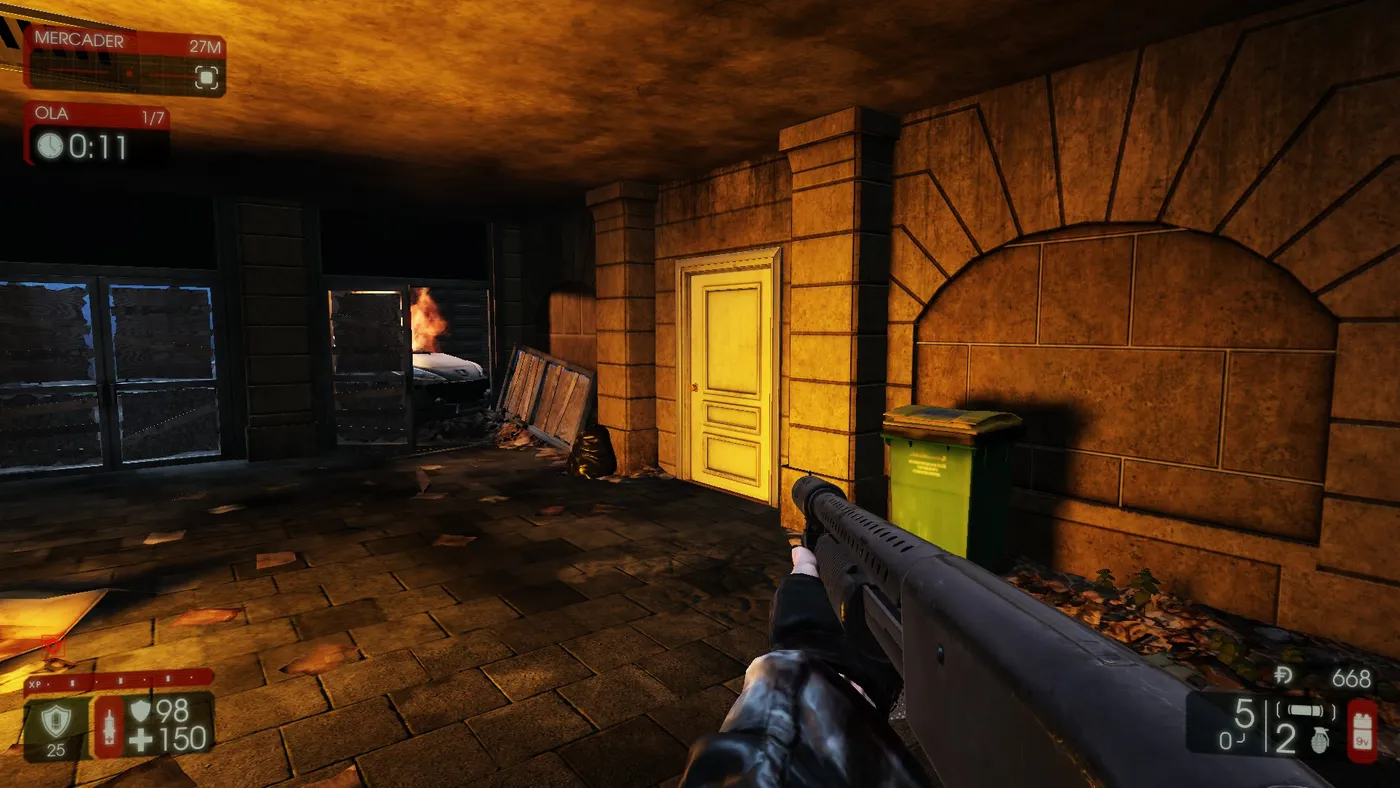 The door to the upper floor.
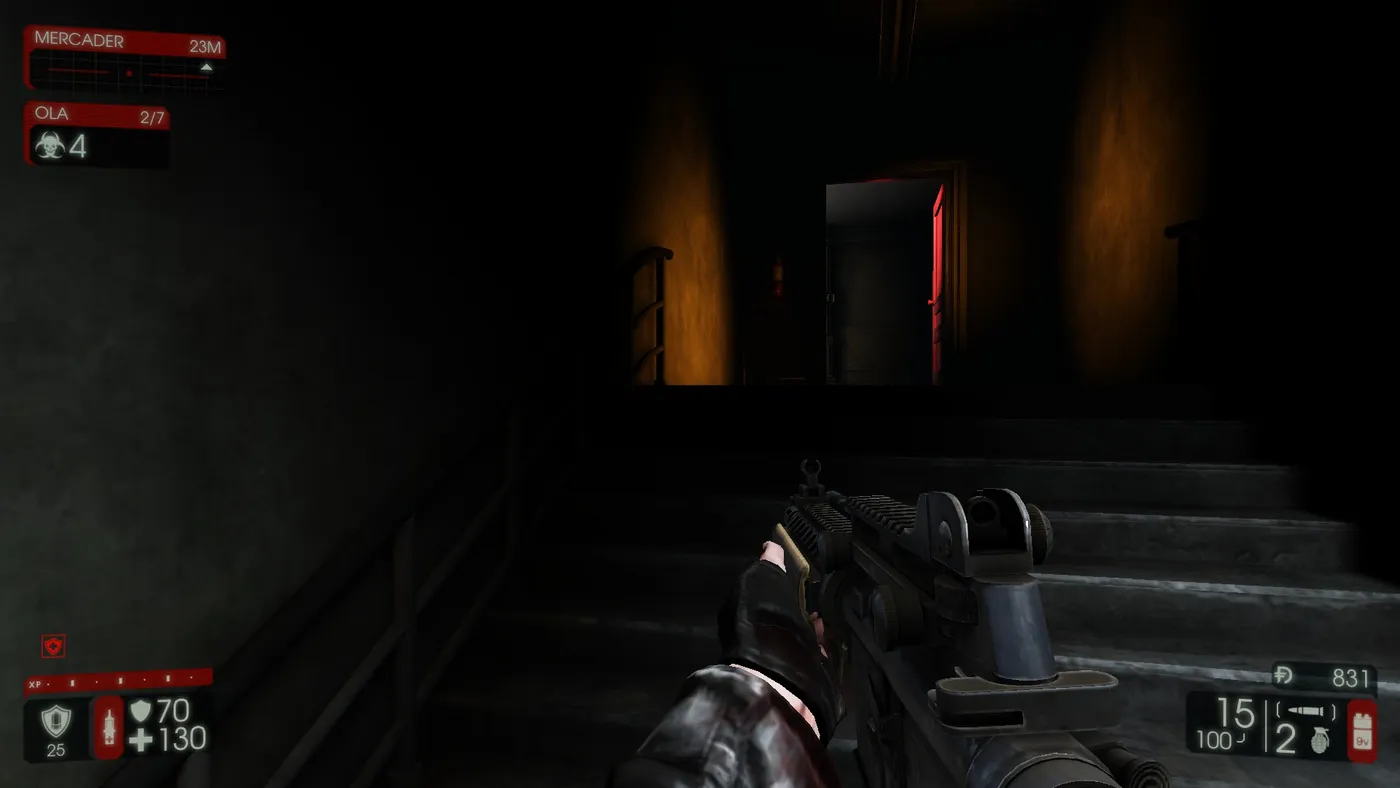 Up the stairs.
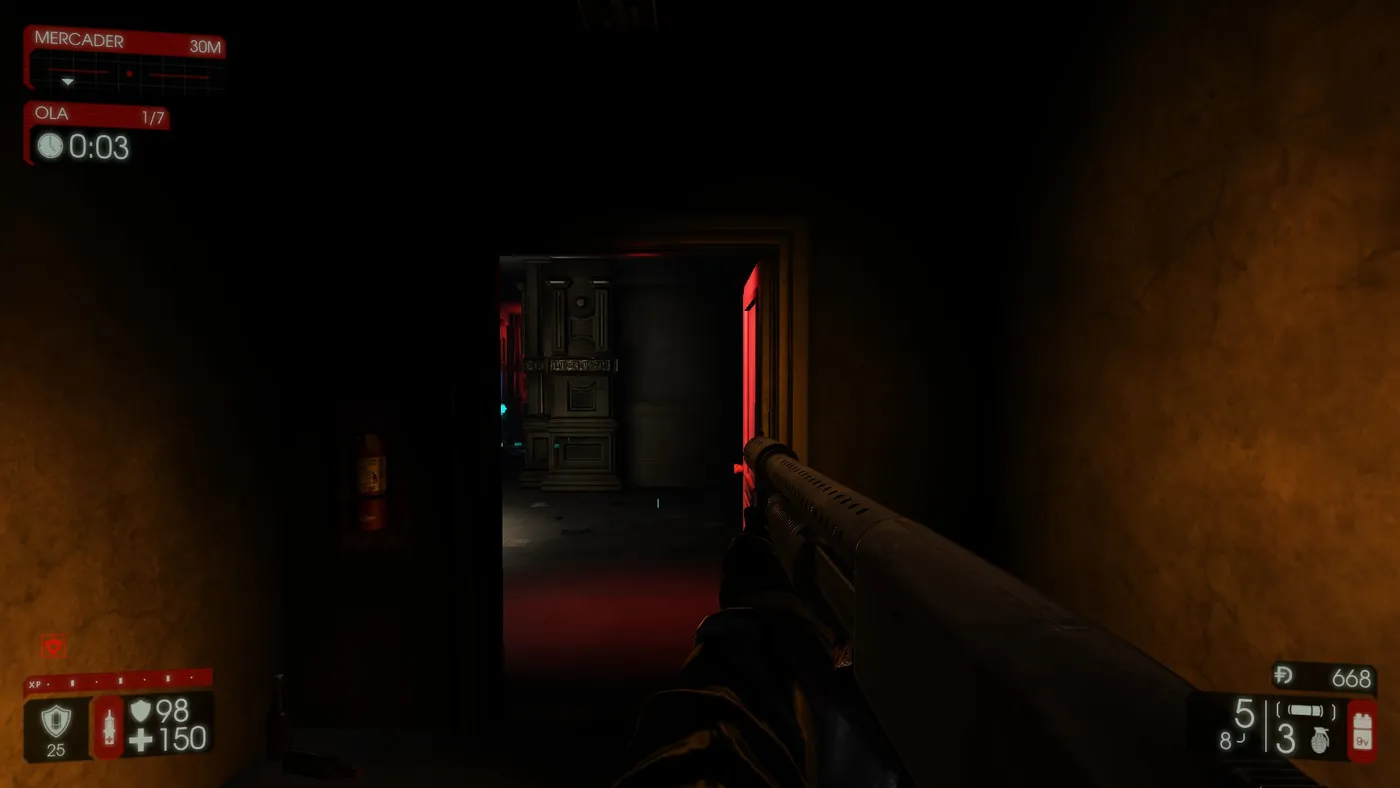 Cross the room.
Note: this is the hardest escape and is used only if the upper door has been destroyed. Kill ZEDs while moving, and be fast. It is the most dangerous point of the game, so do not stop to save an ally. Medics should throw grenades if they have any left.
From the bridge zone
Jump into the yard through any window, take the stairs to the street with the Eiffel Tower and the metro, cross the street quickly, and defend there to the end of the wave if you have the resources, otherwise keep running to the bridge zone. Climb the stairs, take the door on the right, cross the room, pass the door and return to the start.
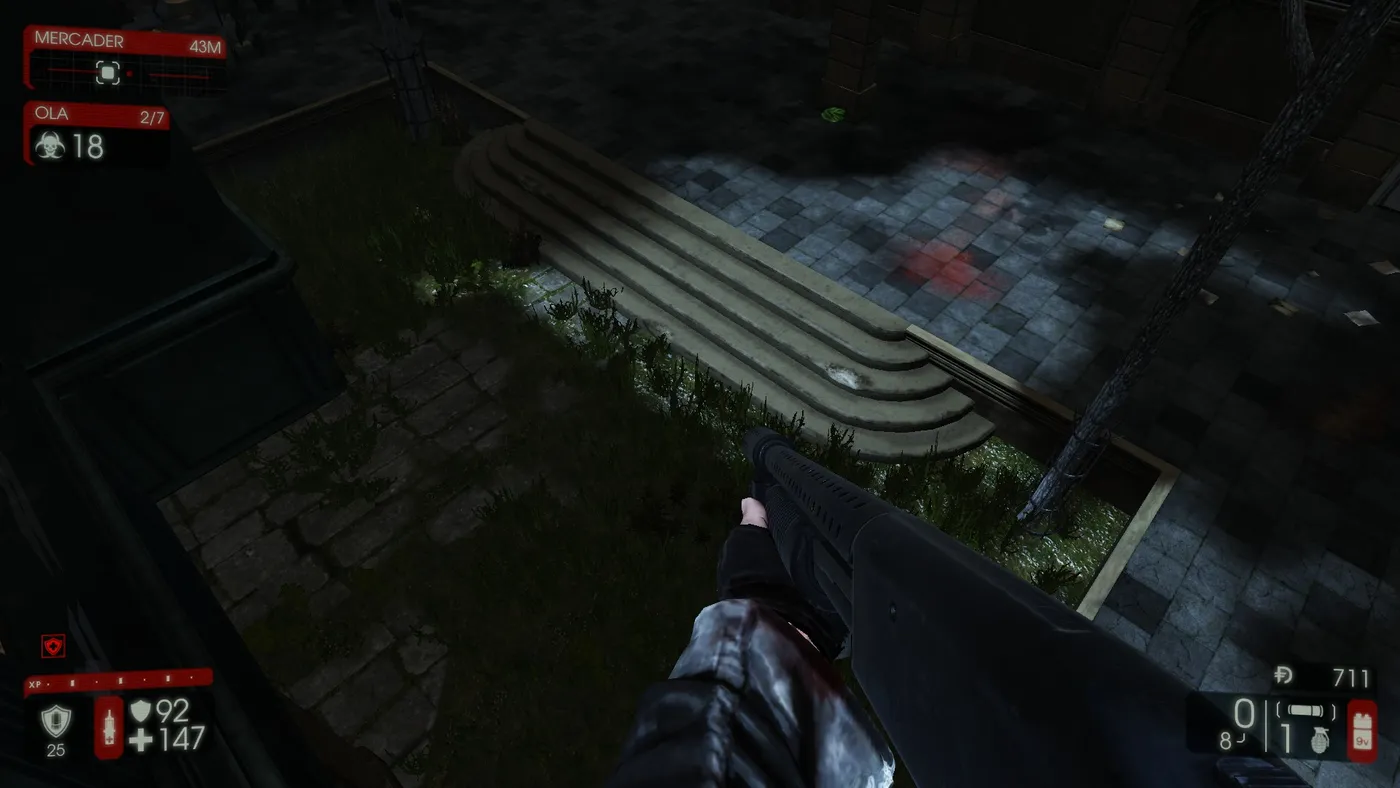 Jump into the yard through a window.
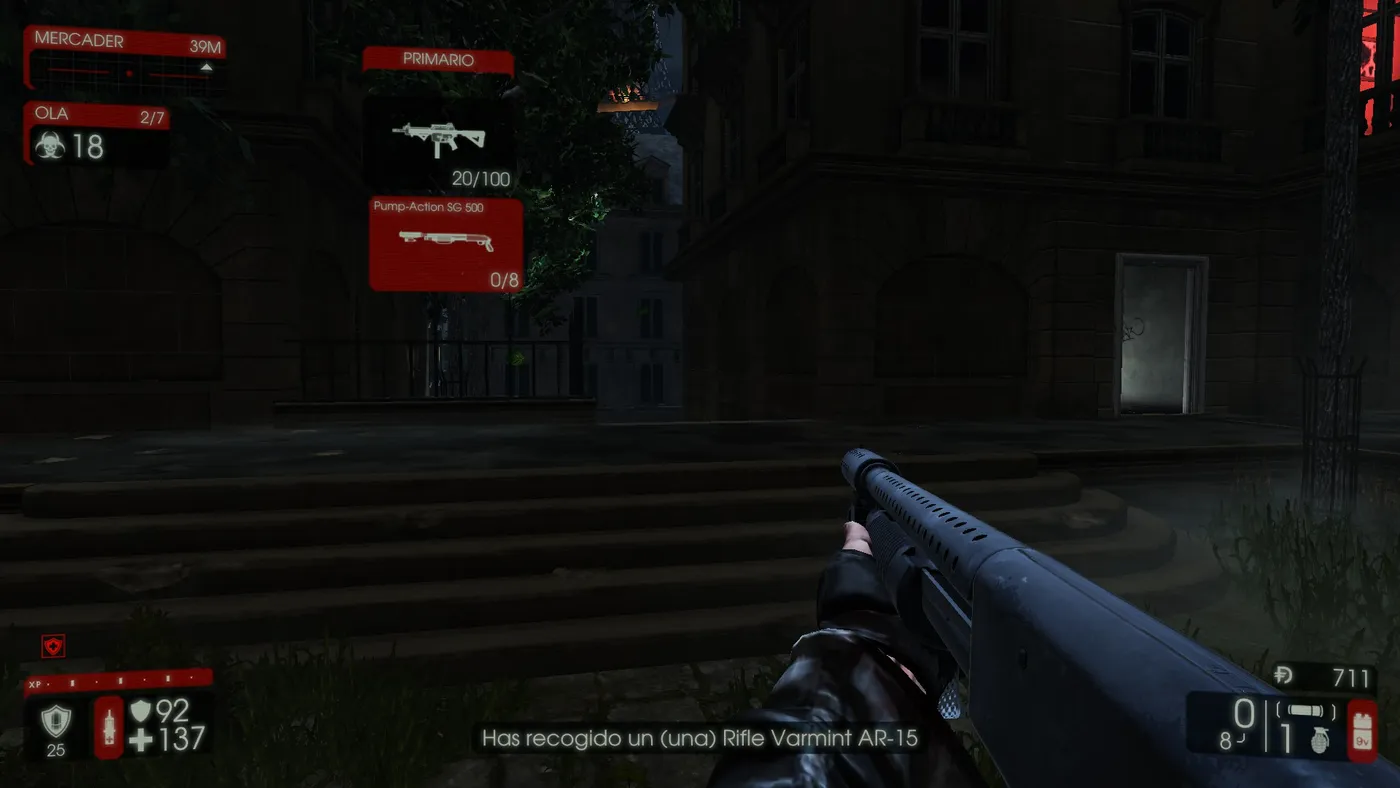 Stairs to the Eiffel and metro street.
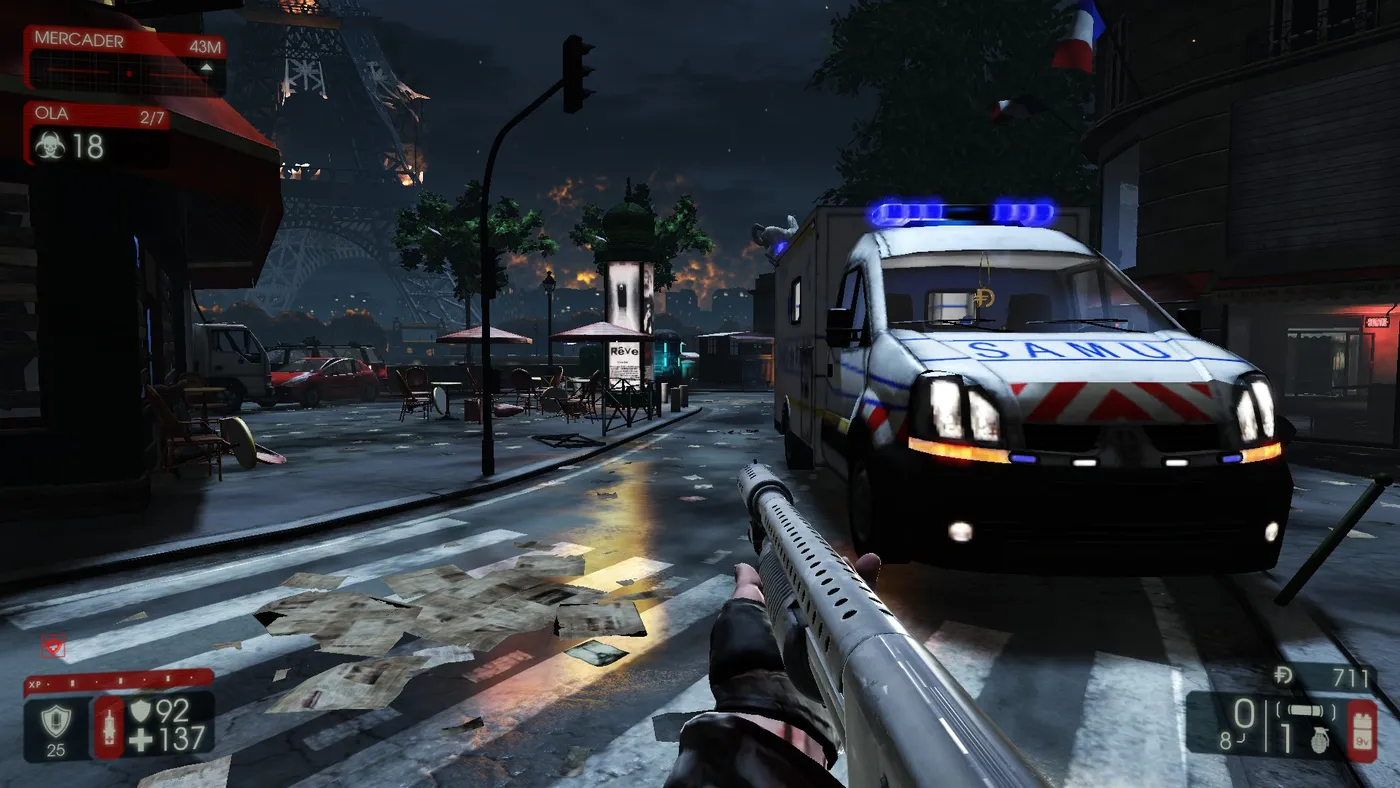 Cross the street quickly.
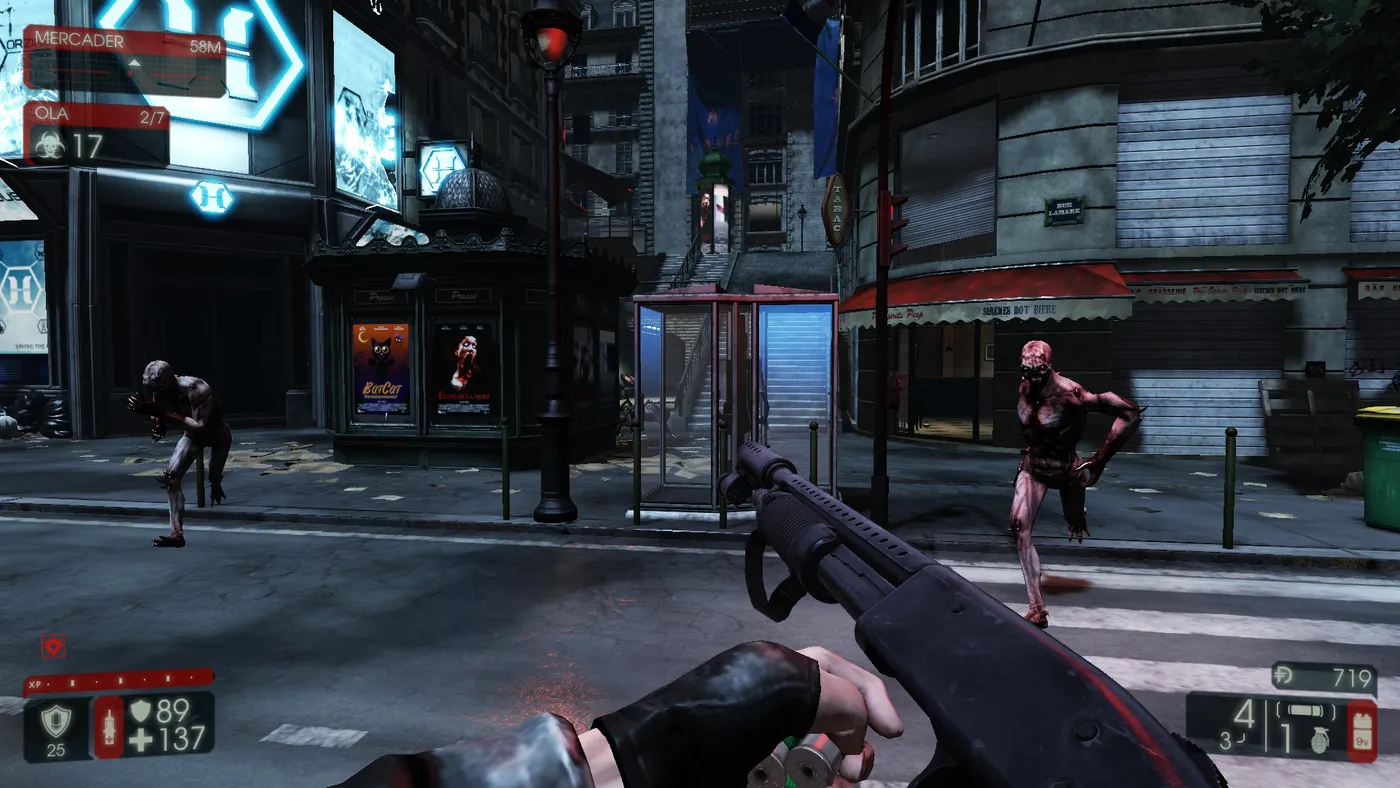 If resources allow, hold here, otherwise keep running to the bridge zone.
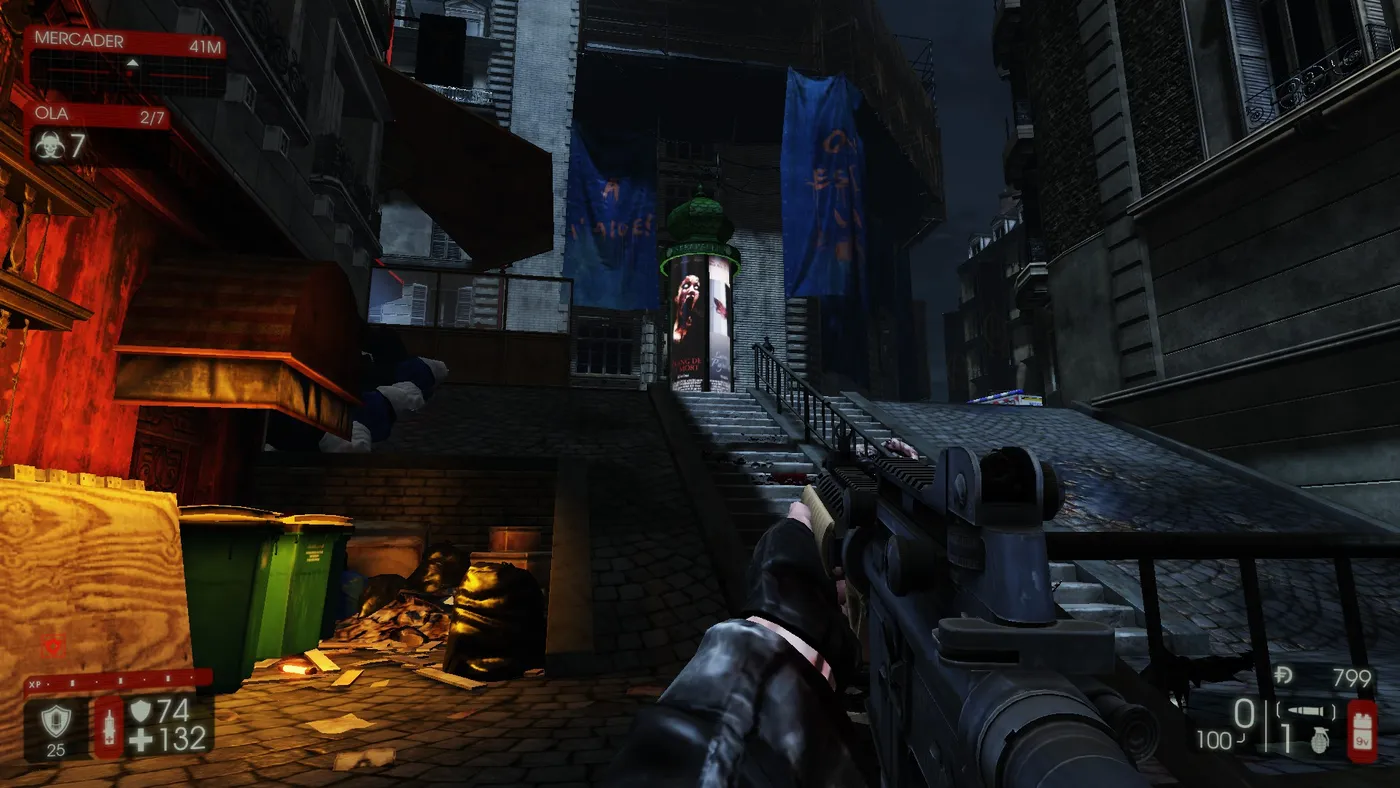 Climb the stairs and enter the door on the right.
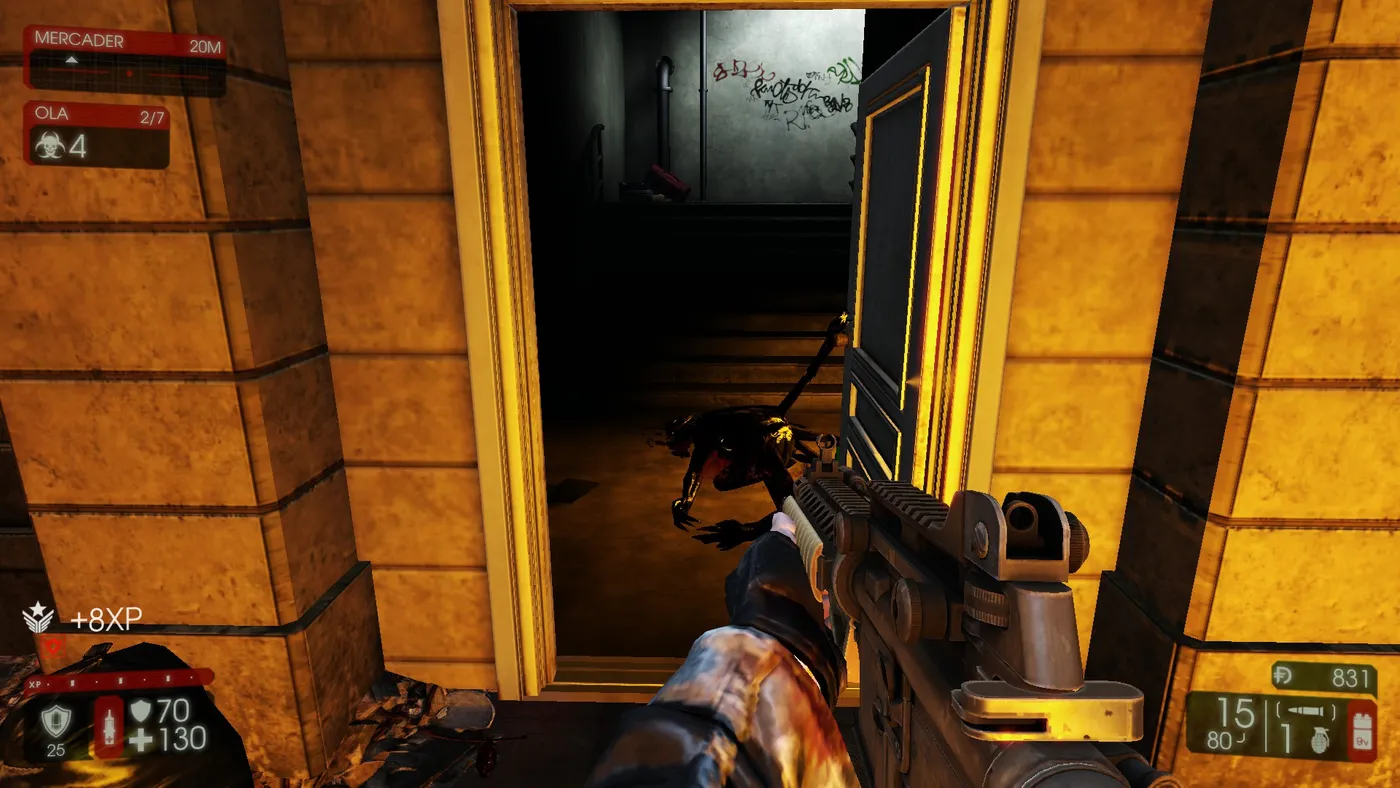 Cross the room.
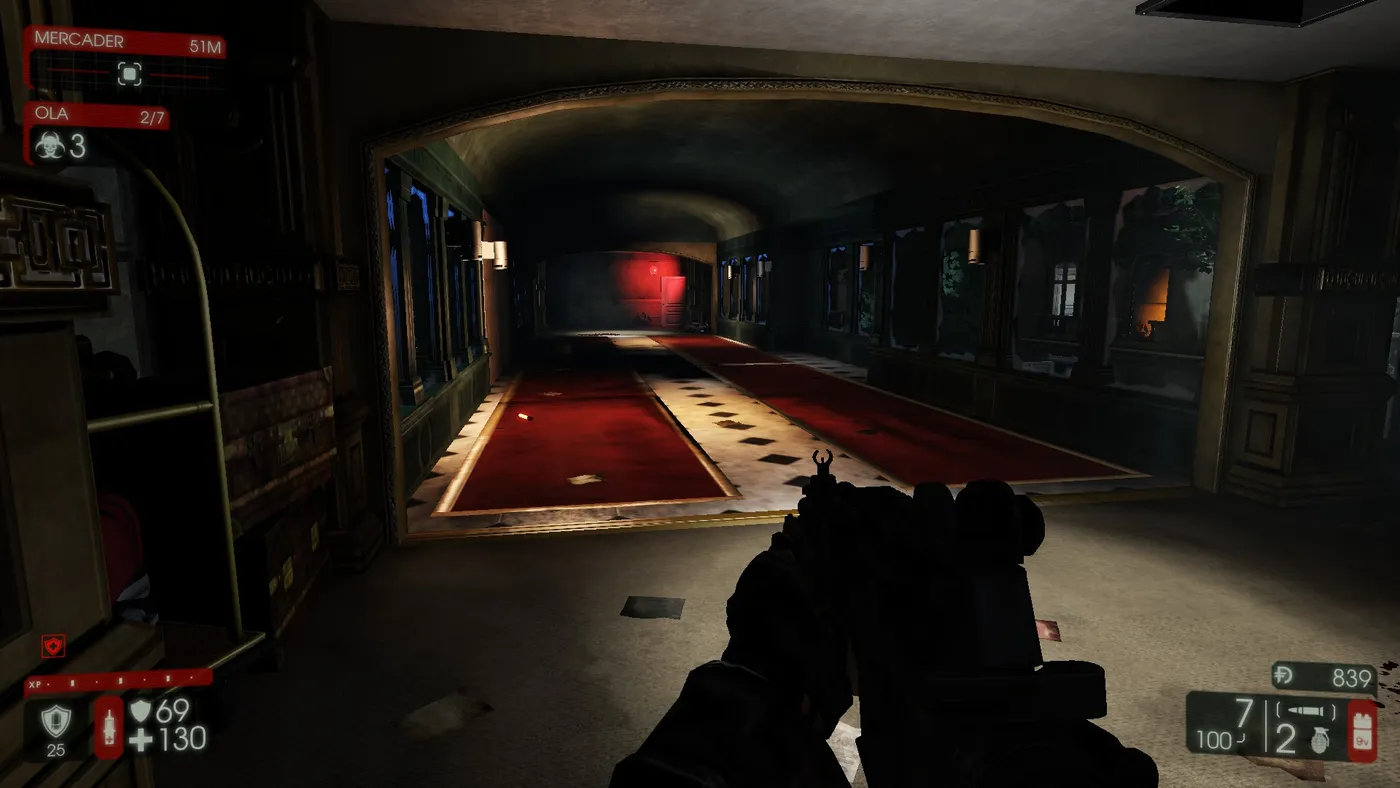 Back to the starting position.
Hans Volter
The combat zone is the hotel courtyard, because the columns are indestructible and give cover. The drawback is that the group has to split, the area is wide and the columns are narrow, so Hans throws grenades very often. That is also the moment to attack him, and you will need to repeat it many times. Another way: Berserkers stay on him after he throws grenades, Volter focuses on them and Medics watch the allies closely. Above all do not shoot him while he drains an ally, since he takes 85 percent less damage then.
The courtyard area.
Another view.
Closing remarks
Not the best guide in the world, only the way that was easiest and cost the fewest deaths. You do not need six friends on voice chat, but you do need to listen to allies' requests for healing, threat warnings and ammo counts. For other maps see Biotics Lab on HoE and HoE camping spots by map.
FAQ
- Which team does the plan use?
- Two Berserkers, one Support and three Field Medics for the waves. For Hans Volter the group switched to three Supports and swapped two Medics for the Support perk.
- What is the order of threats on this map?
- Husk, then Siren, Fleshpound, Scrake and then the rest. Husks are the worst because their self-destruct can cripple the whole tightly packed team.
- Why must the upper door be welded?
- ZEDs usually ignore it, but if it breaks they can flank the group. A teammate should check it now and then, but not too often, so as not to attract ZEDs to it.
