
KF_Rig Marine Research Achievement - 17 Collectible Route
KF_Rig is a Killing Floor 2 industrial map with cranes, containers and a lab, and its Marine Research collectibles are scattered over almost the whole level. This achievement guide gives you a running route: where to start, which way to run and exactly where each collectible sits. Some points are labelled "map not valid" in the original, which means the top-down marker is unreliable there.
Preparation
Start KF_Rig on short length and normal difficulty. Clear out all Zeds except one. A Bloat is easiest, because it never runs and is easy to spot when you select which Zed to keep alive.
Important: some collectibles seem not to have fixed spawns, so the guide is updated with every new spot found, and later ones are added at the end rather than in route order. The locations on the top-down map are not exact. They only point you to the right area; the descriptions and pictures are enough to find each one.
The route
- Collectible 1, blue container: at the starting area near the center, run up to the blue container. The collectible is on the ground.
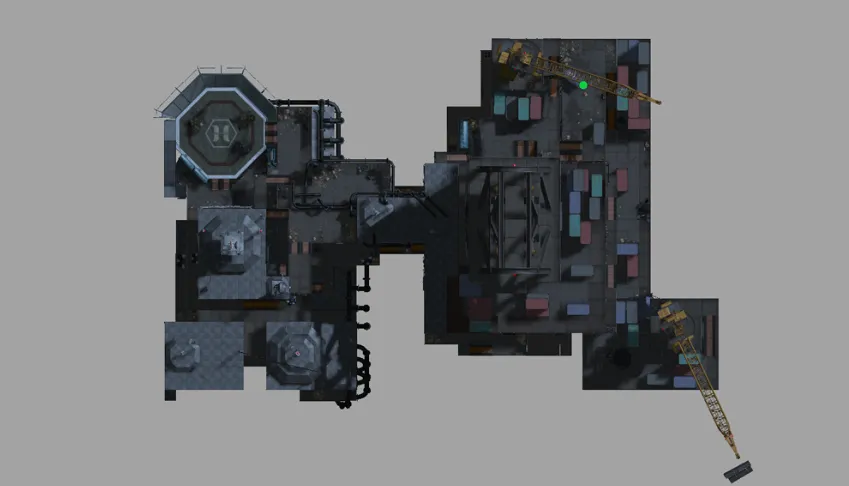 Photo 1
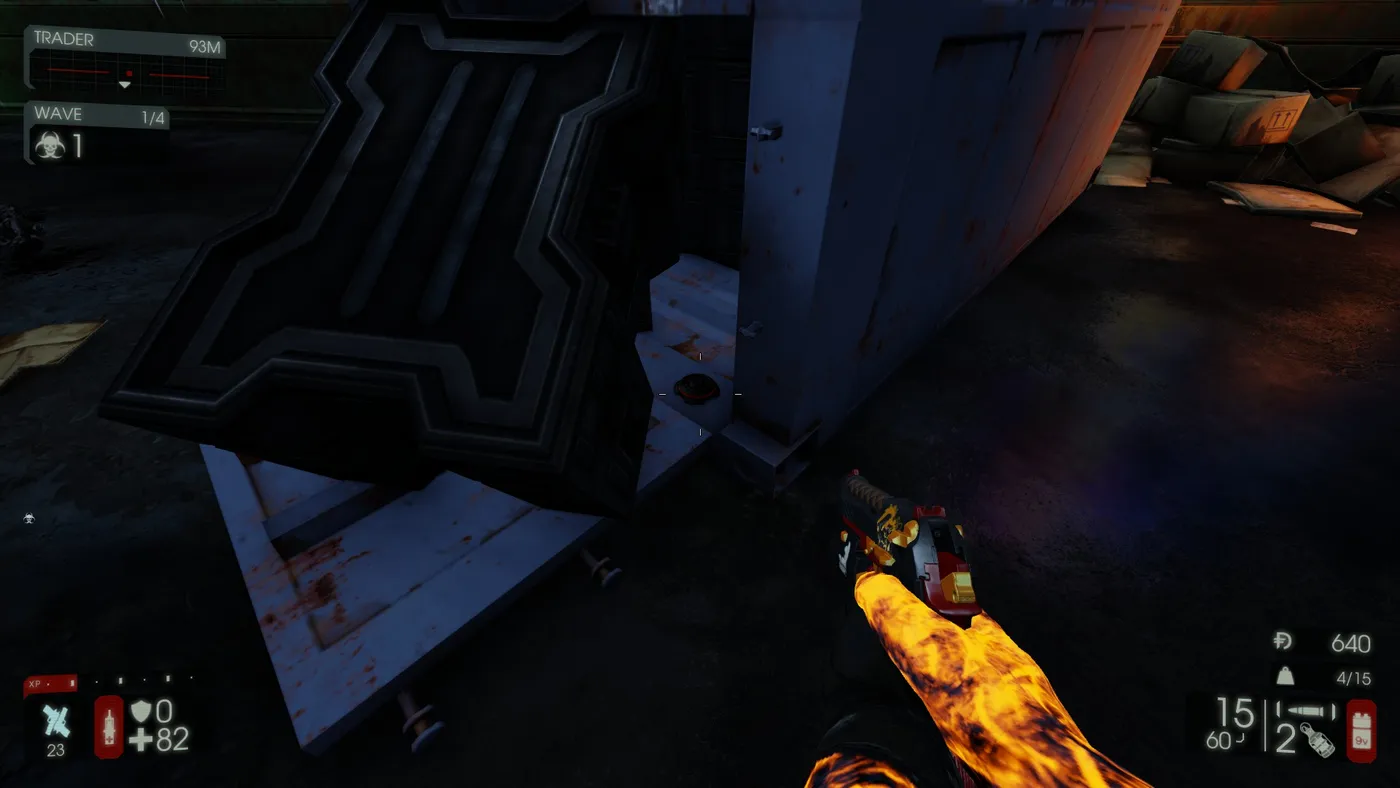 Photo 2
- Collectible 2, shelf: run down the stairs next to the blue container, go all the way to the back and turn left into the room. On entering, it is on the left at the bottom of the shelf.
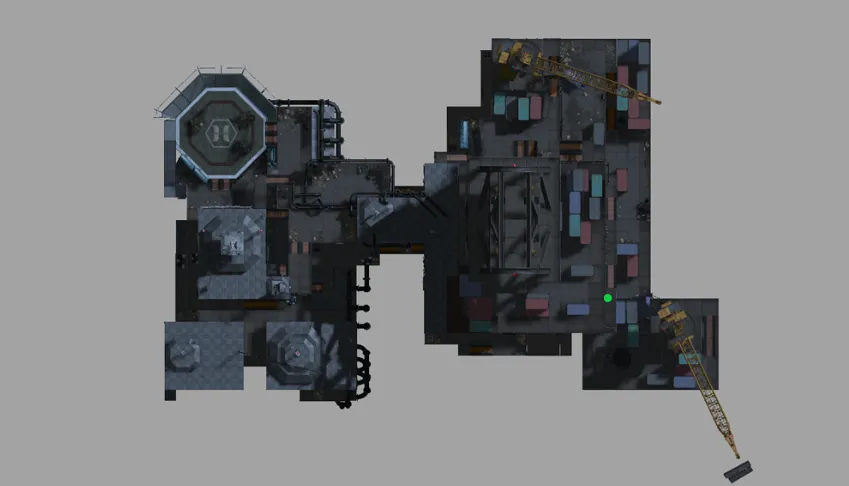 Photo 3
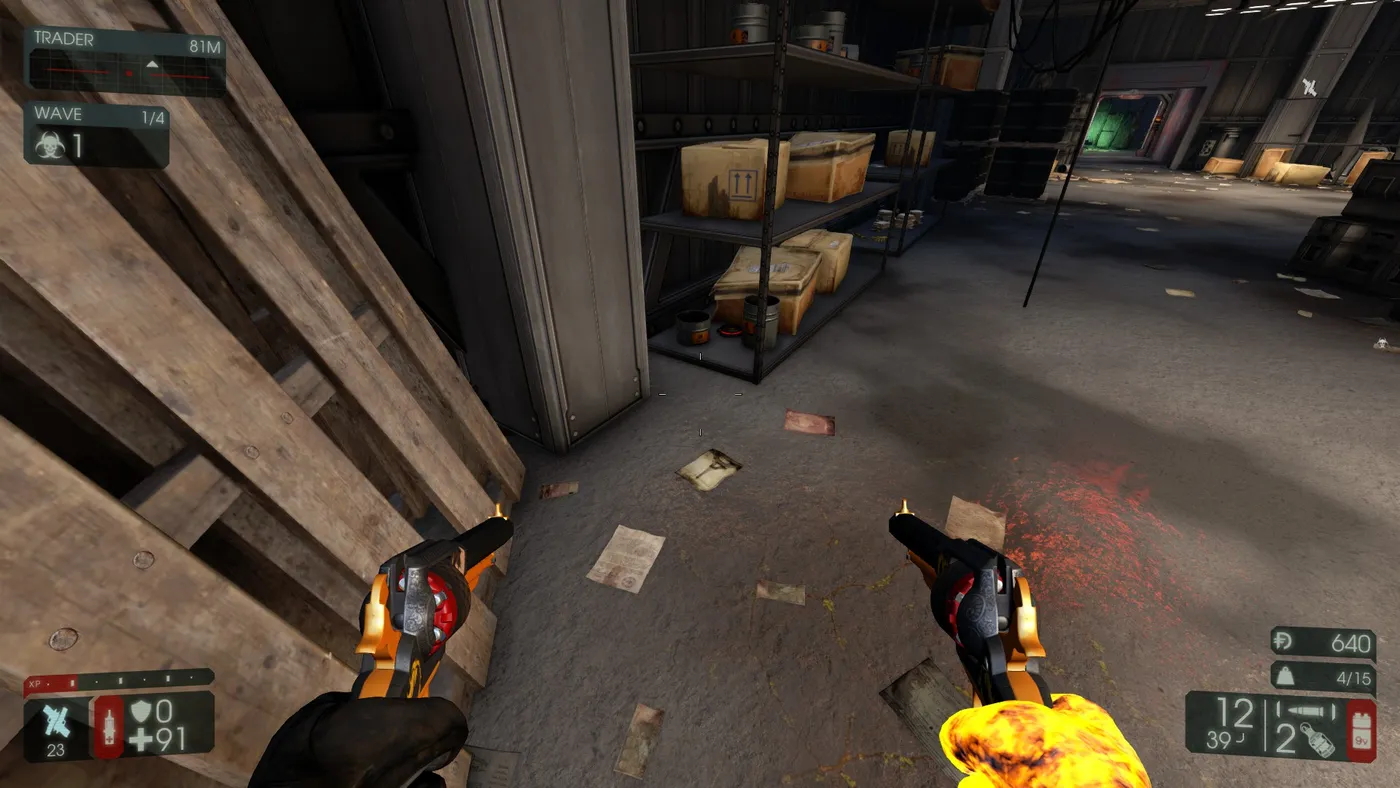 Photo 4
- Collectible 3, beam: run up to the center square through the shaft with the black boxes. At the top, face the south side of the map. It is on the wall next to the left pillar behind all the boxes.
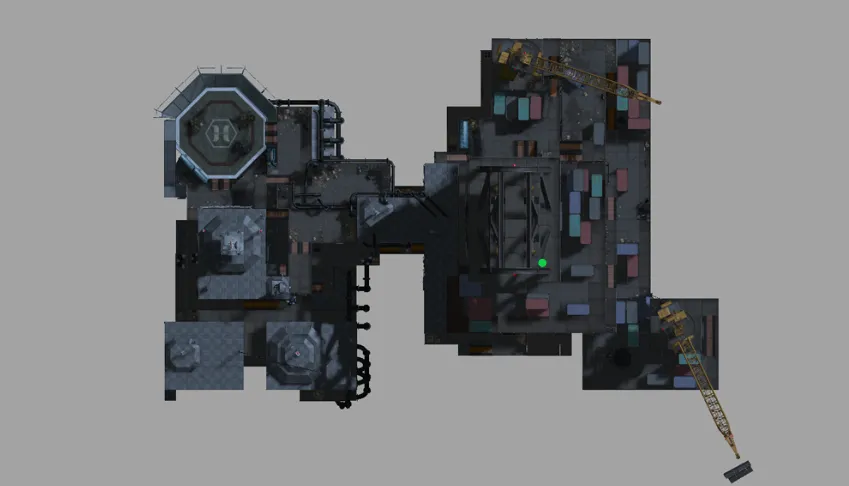 Photo 5
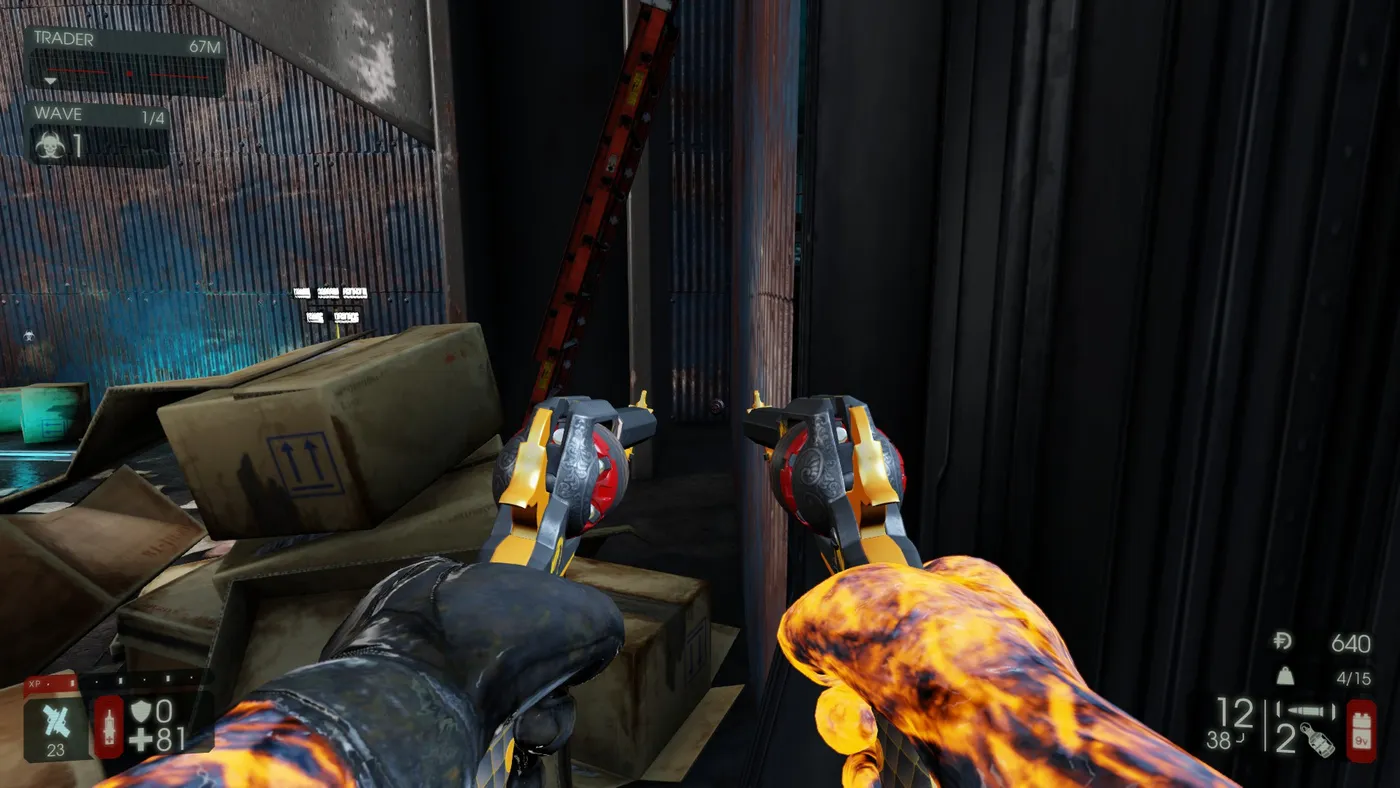 Photo 6
- Collectible 4, white crane: go into the room next to the beam and look up at the white crane. It is under the crane, on one of the two black rings.
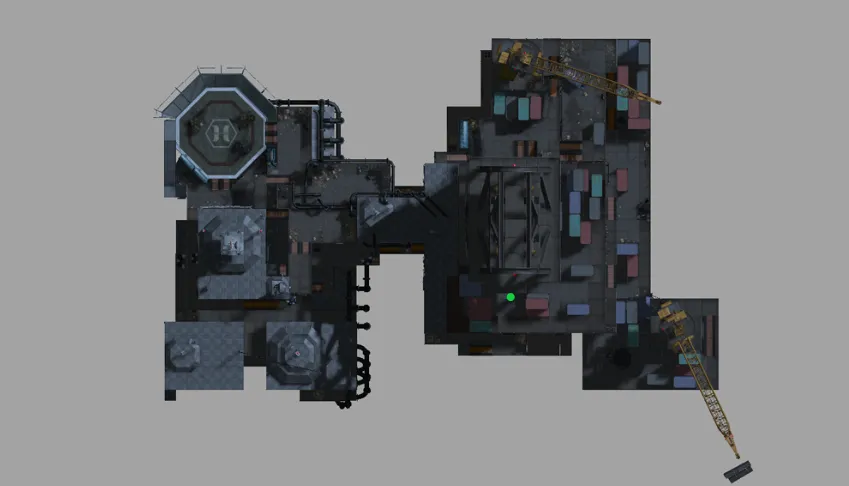 Photo 7
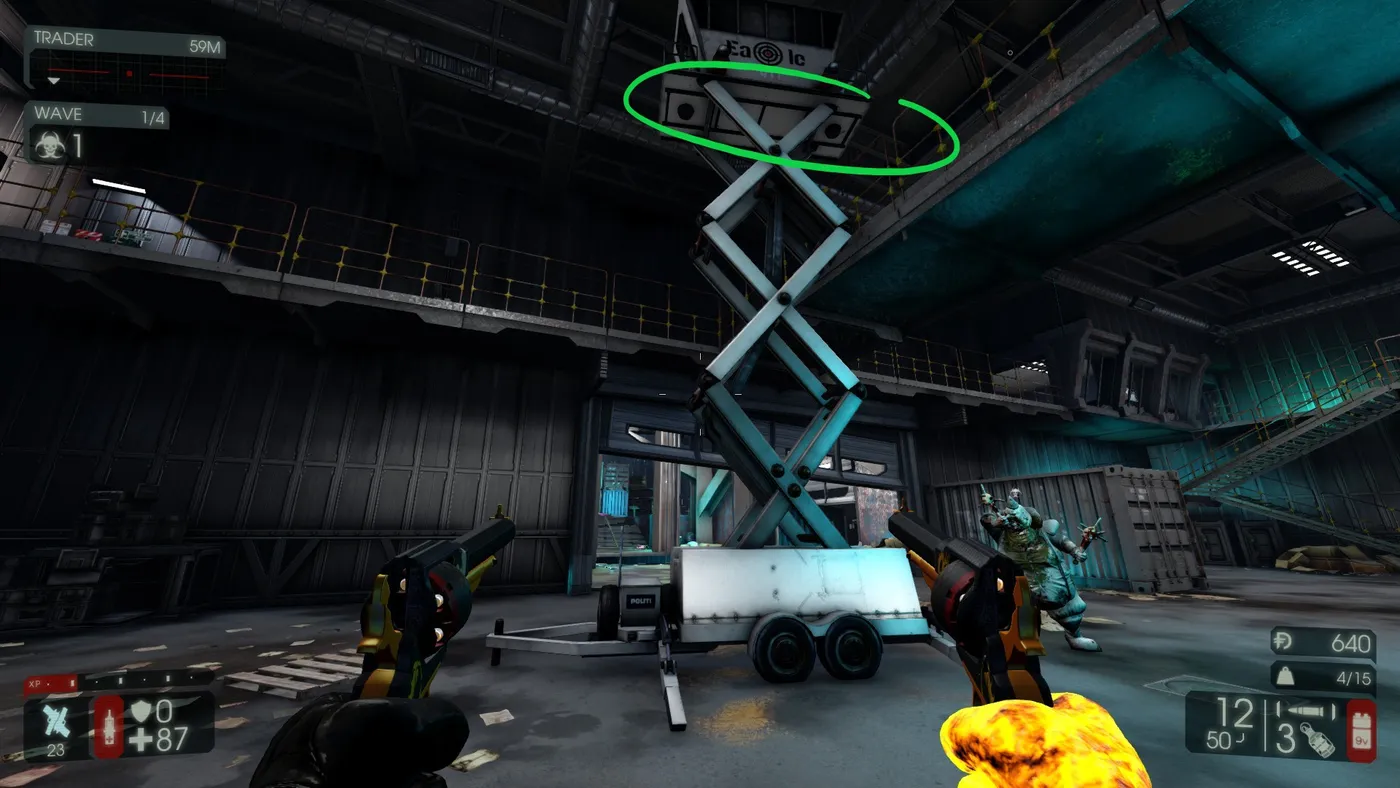 Photo 8
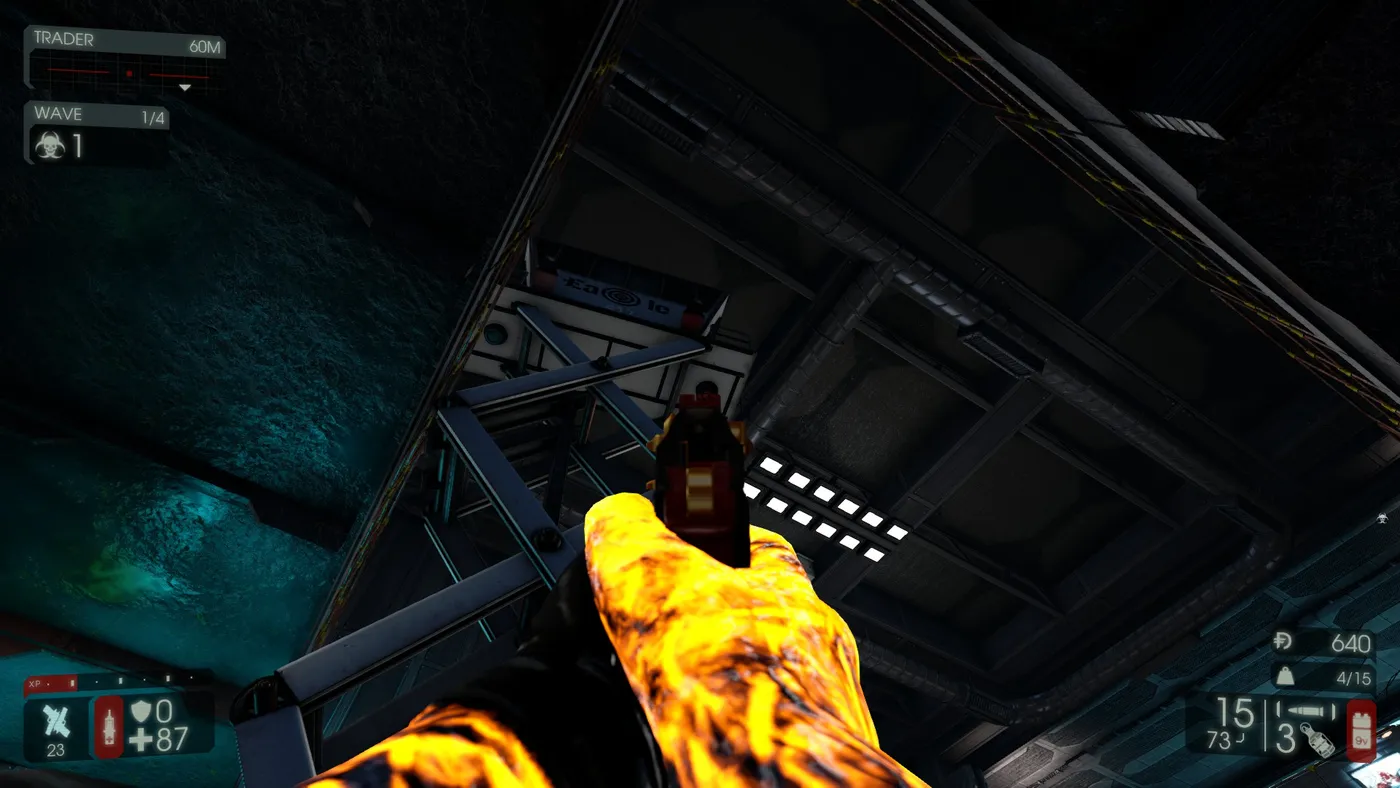 Photo 9
- Collectible 5, yellow crane: in the next room find the yellow crane attached to the ceiling. It is on one of the crane's pulleys.
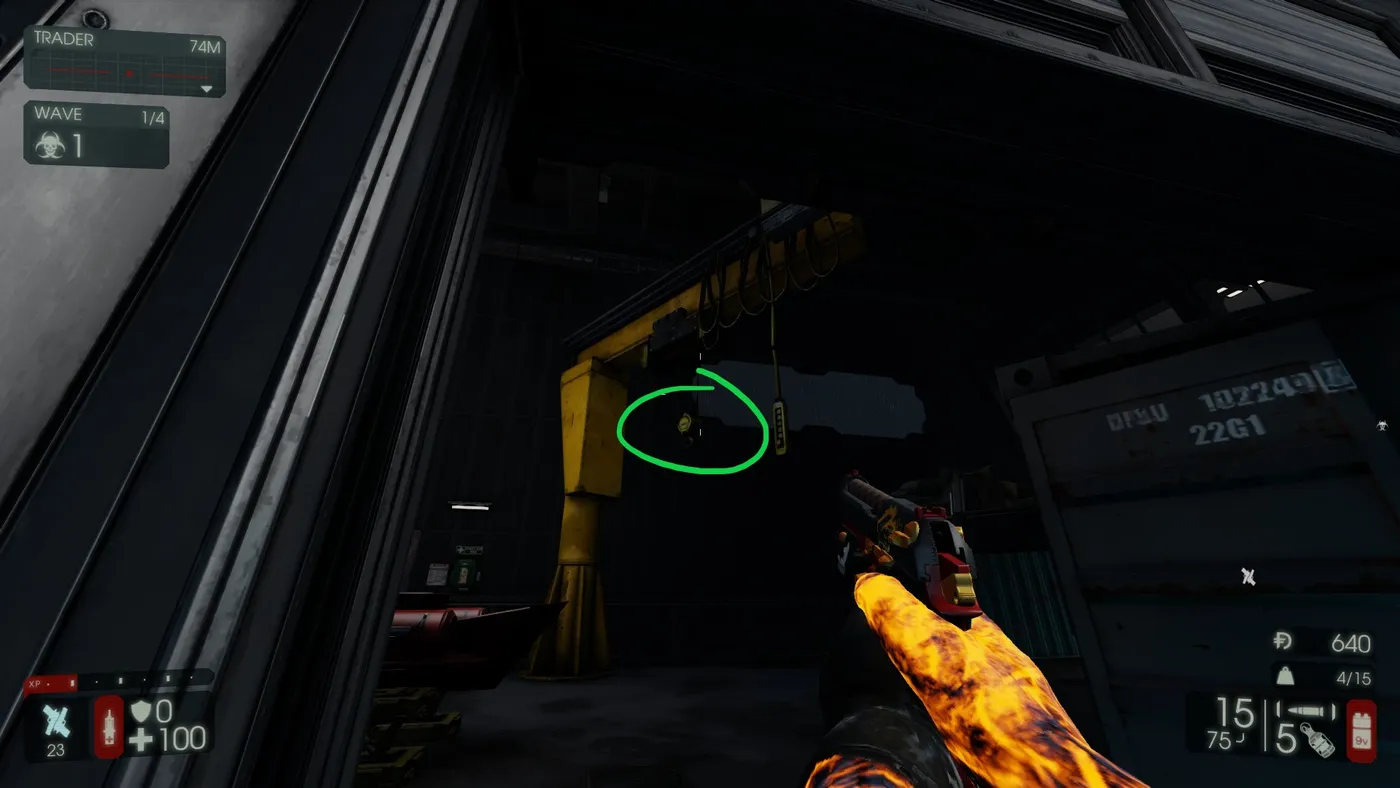 Photo 10
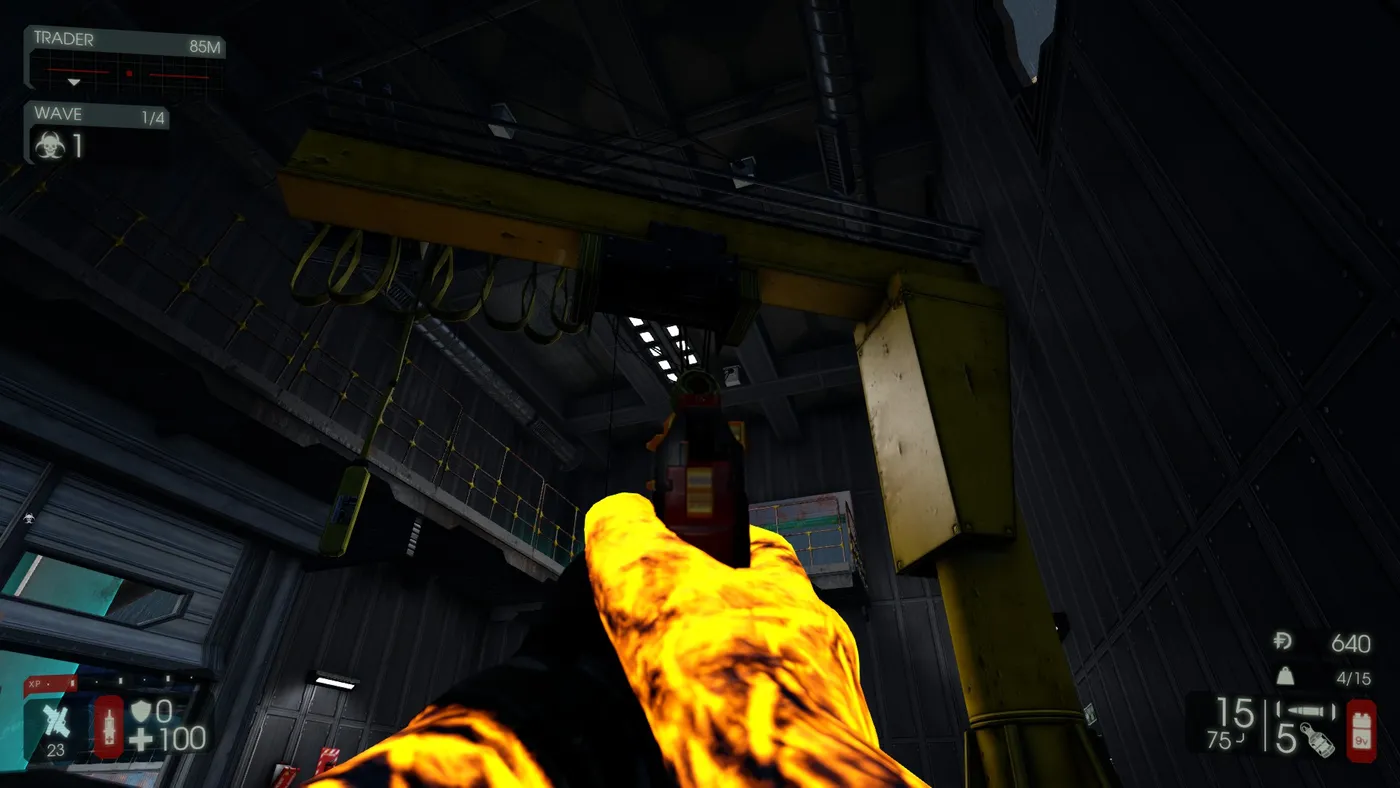 Photo 11
- Collectible 6, middle bridge: run to the middle floor bridge connecting the two main areas. It is inside one of the I-beams.
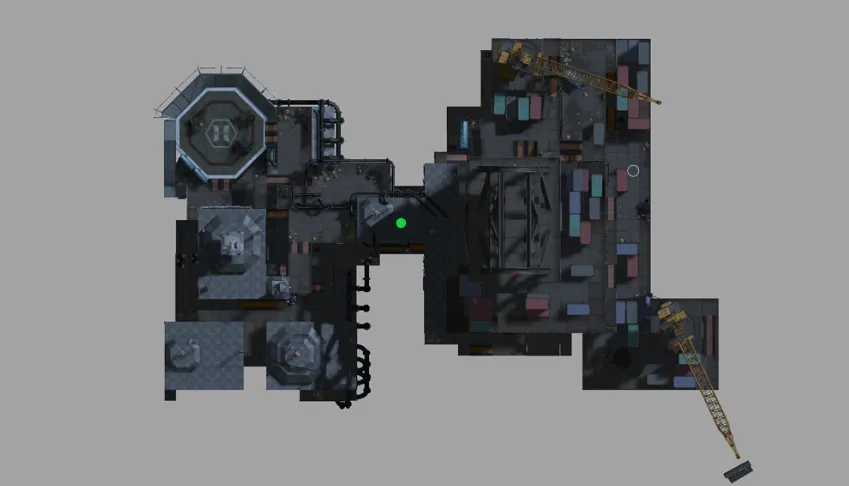 Photo 12
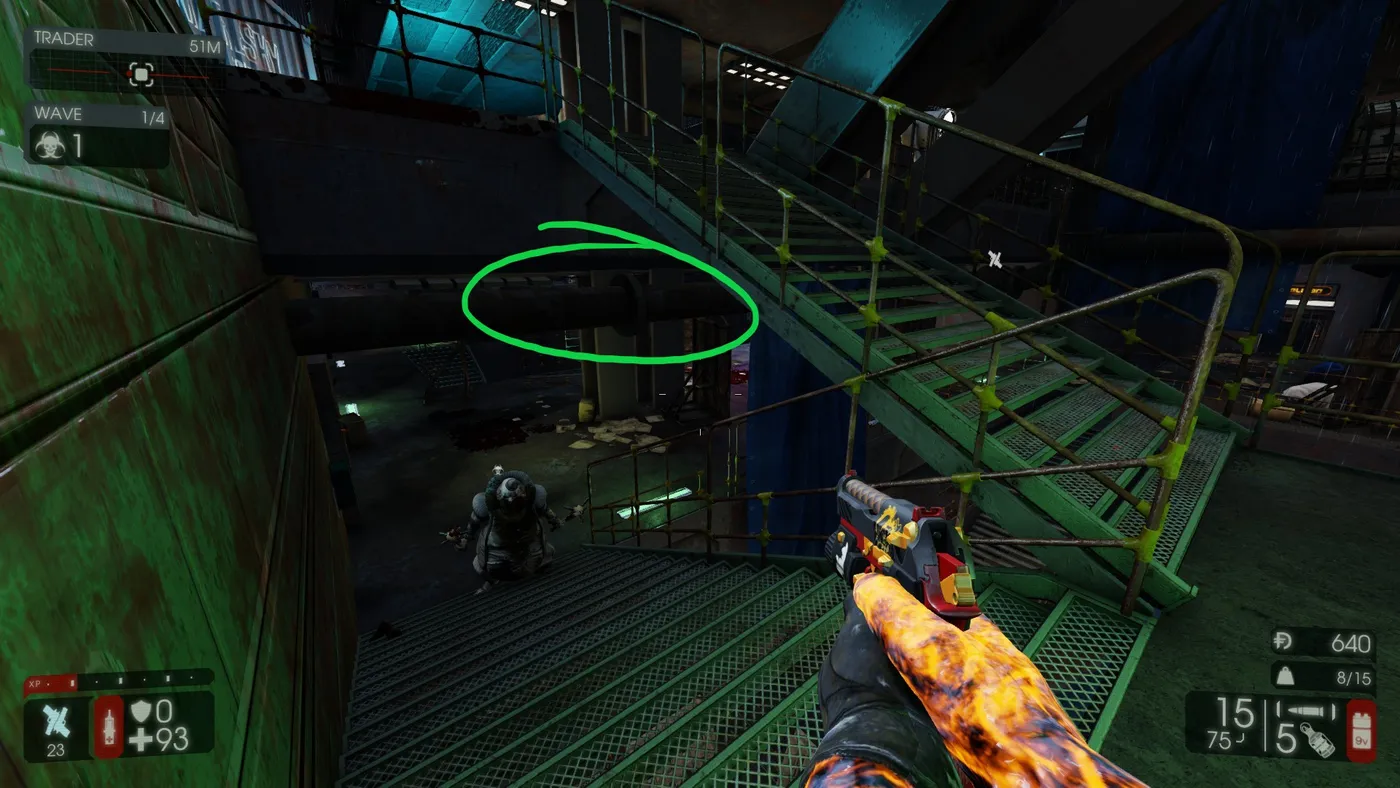 Photo 13
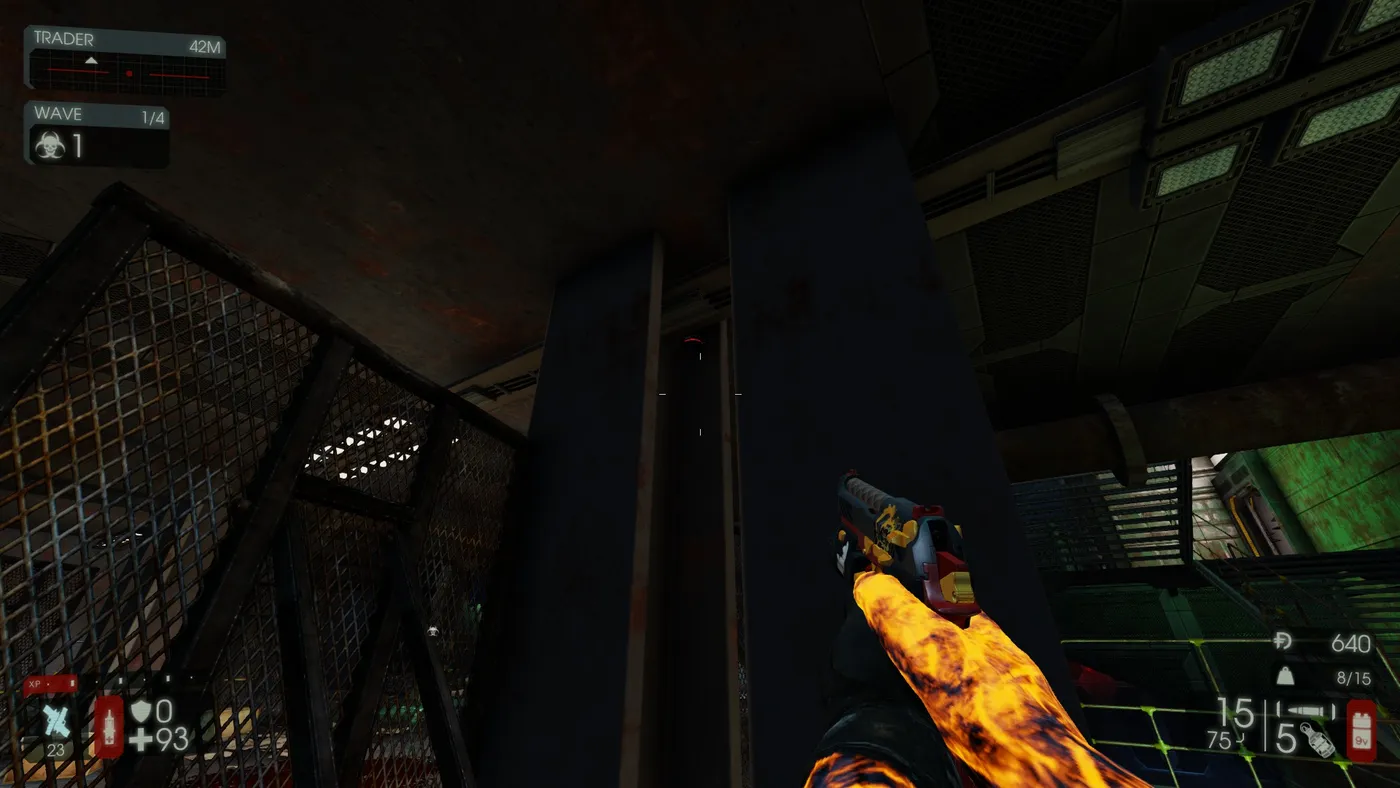 Photo 14
- Collectibles 7 and 8, lab elevator: go up to the bridge's main level and jump onto the elevator slab leading down to the lab. Shoot the two collectibles on the yellow pulley systems.
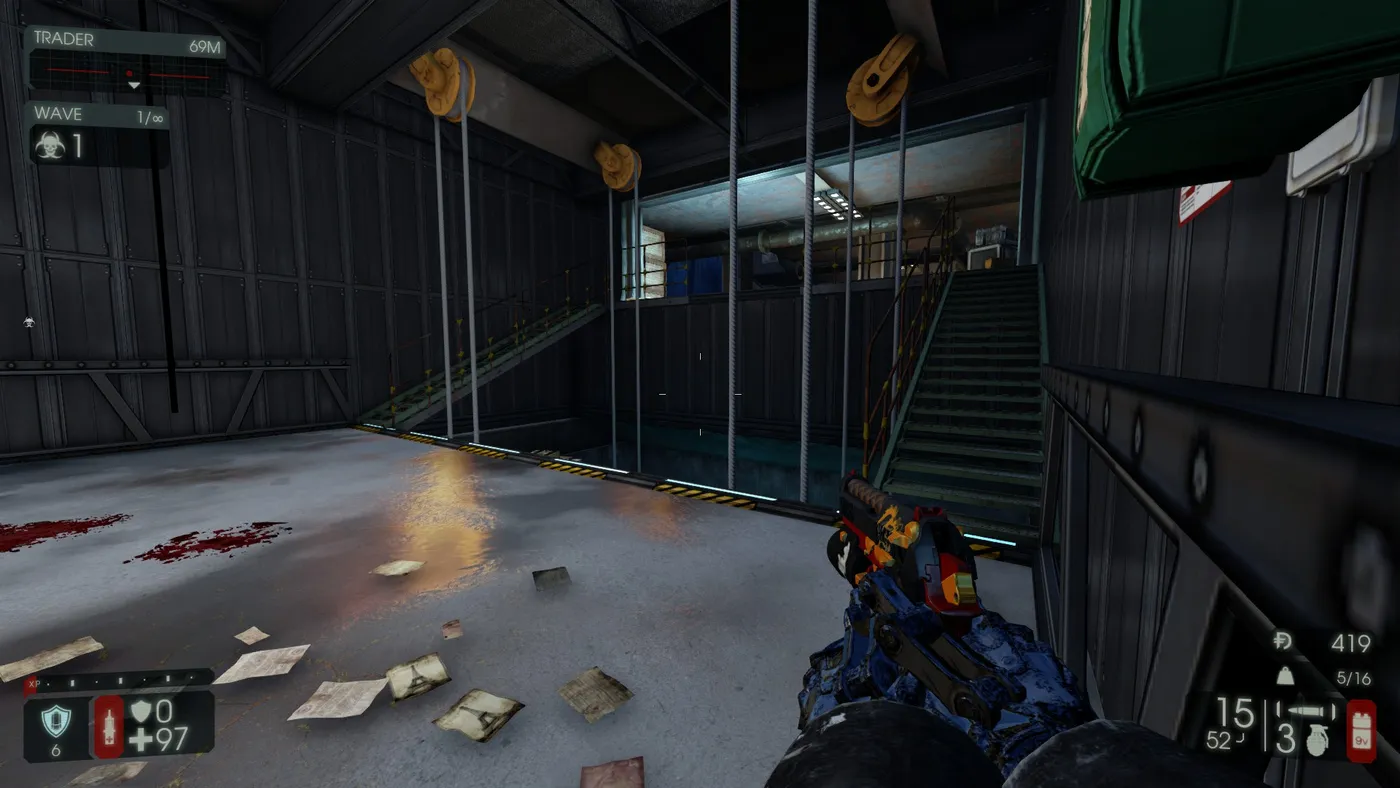 Photo 15
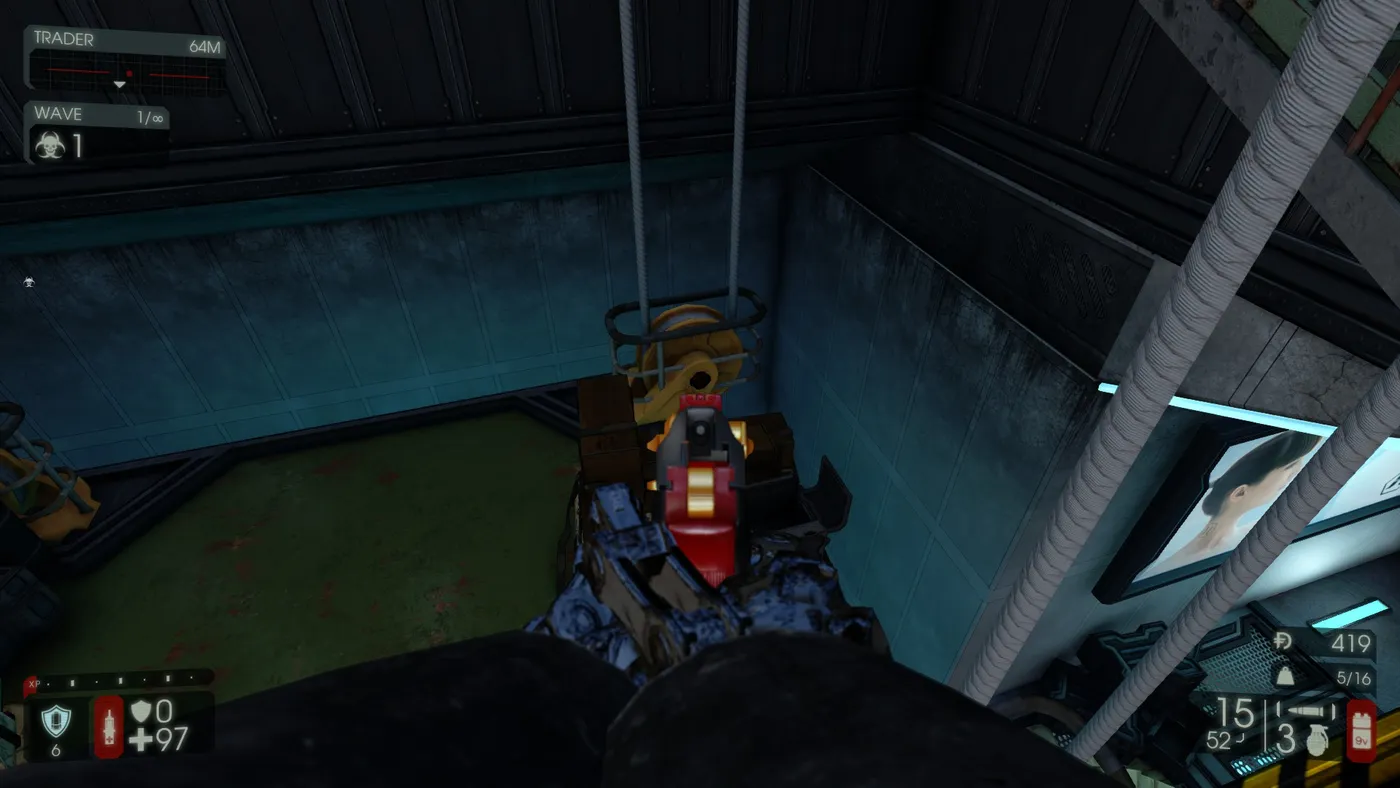 Photo 16
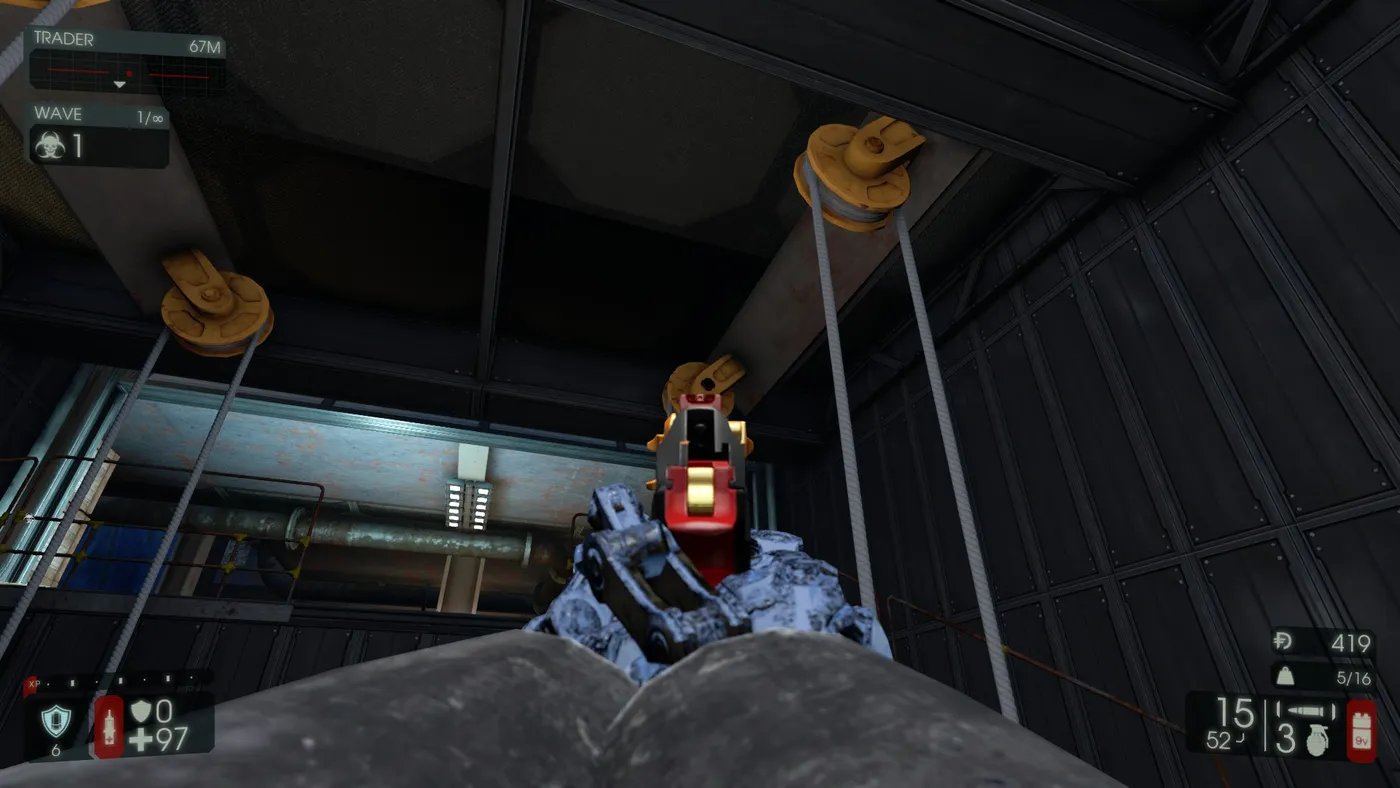 Photo 17
- Collectible 9, lab lamp: jump down into the lab, run all the way down and face the operating tables. It is in the center of the lamp.
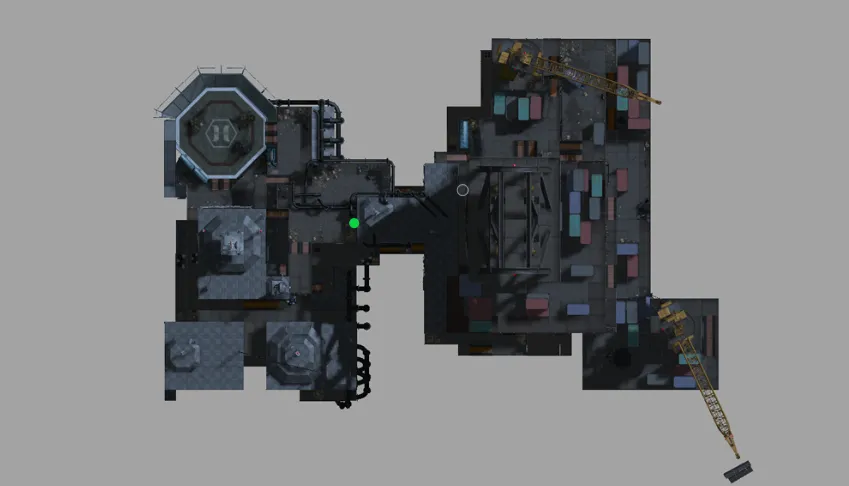 Photo 18
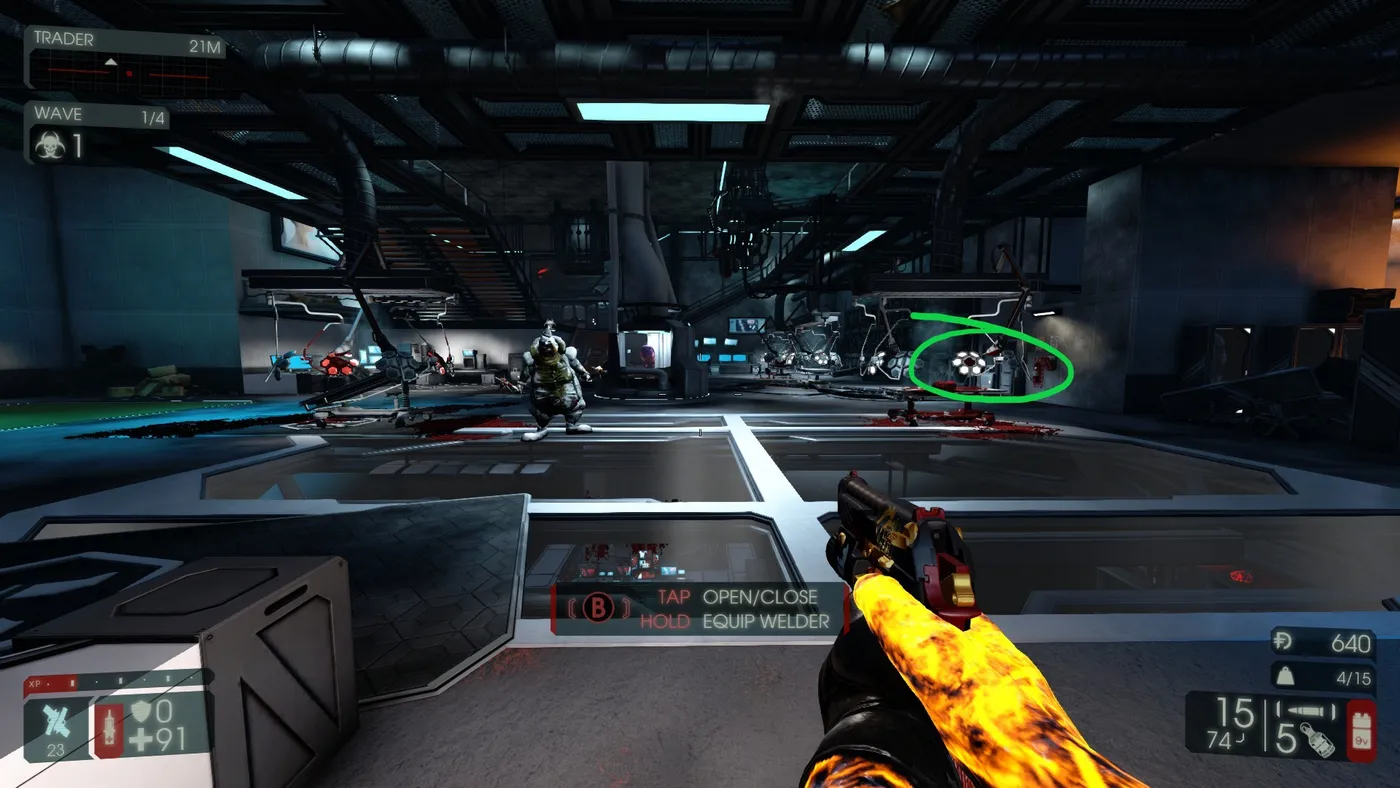 Photo 19
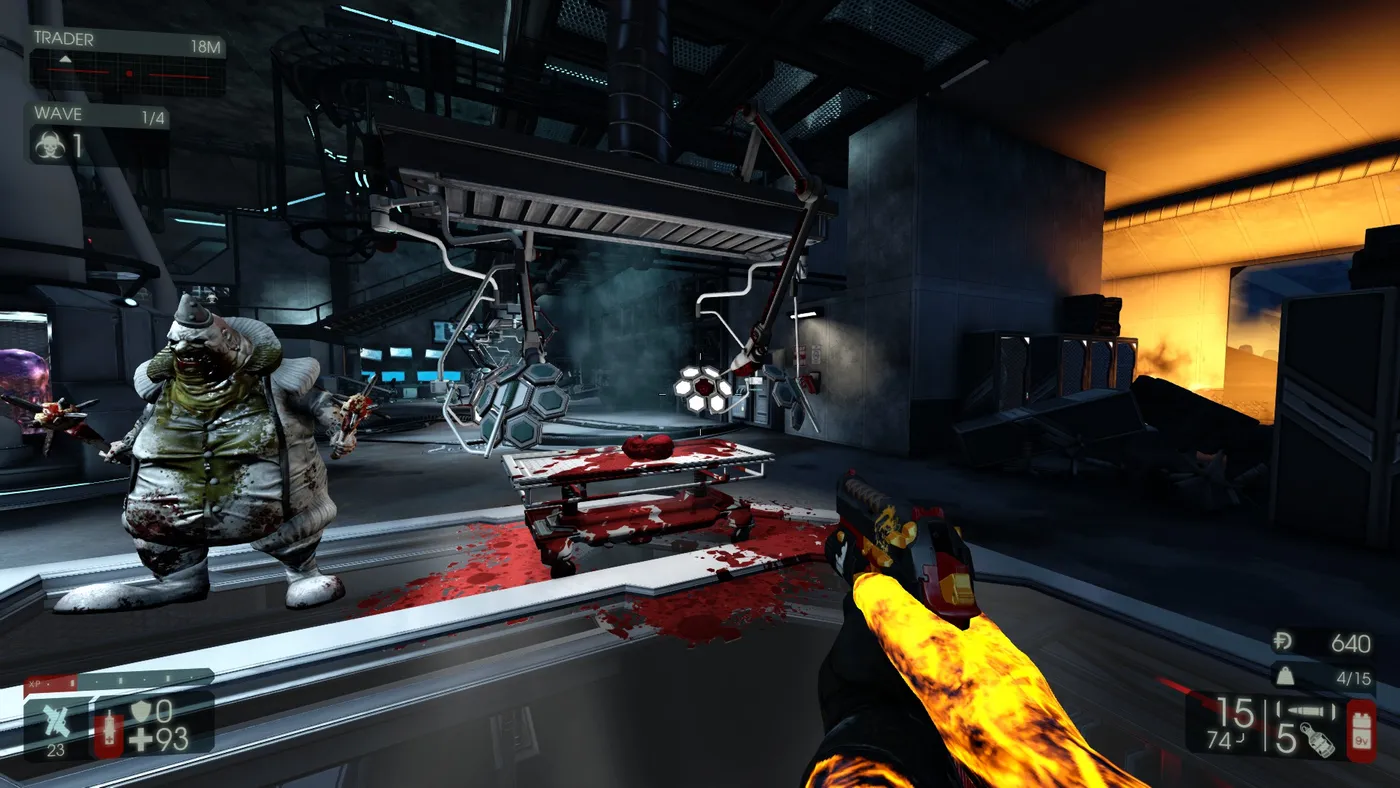 Photo 20
- Collectible 10, lab exit: leave the lab through the door that leads to a red room and the helipad. The wall facing the lab exit holds the tenth collectible.
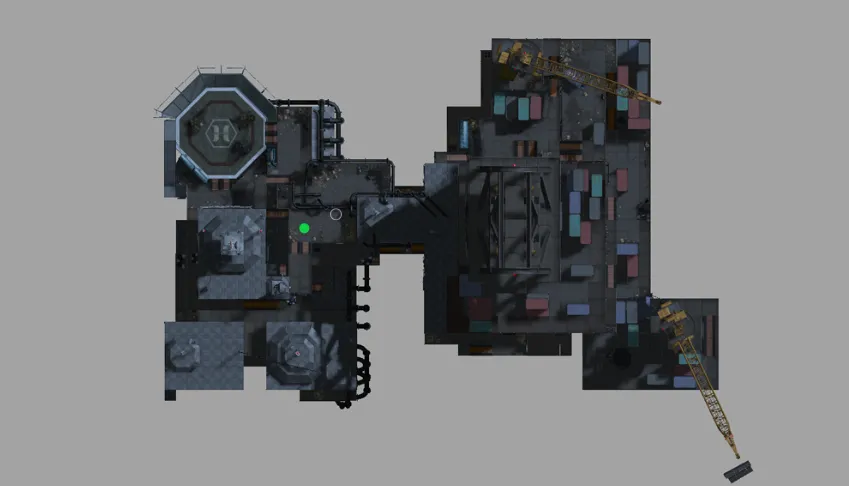 Photo 21
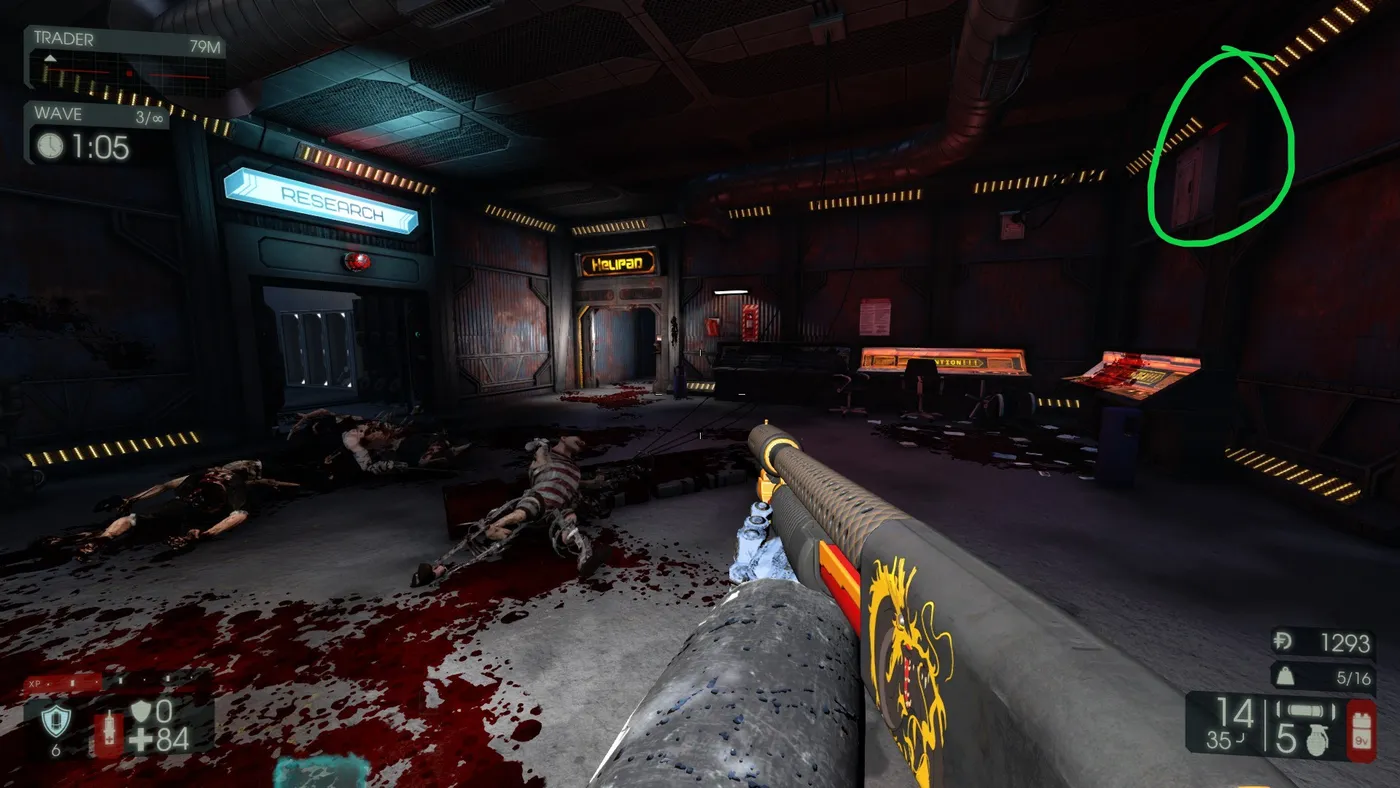 Photo 22
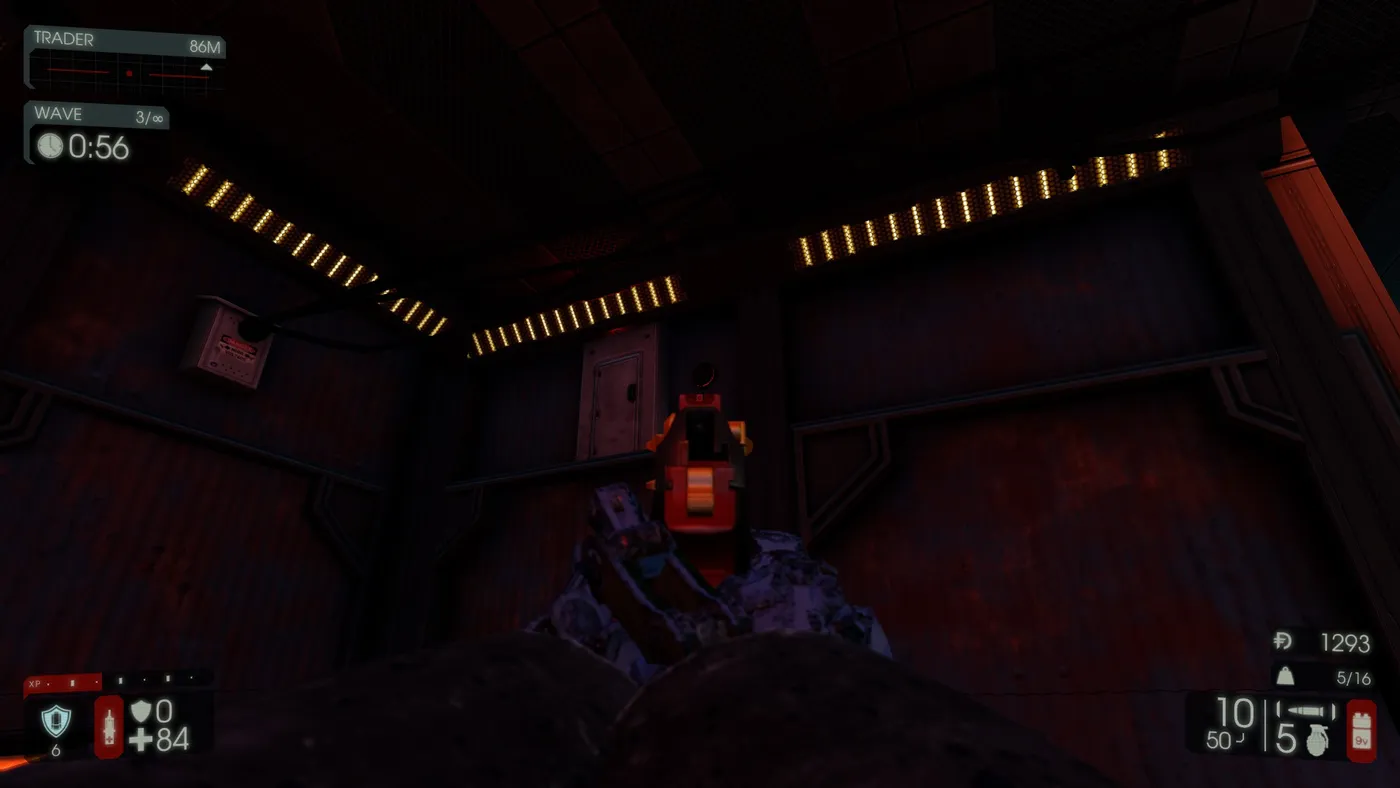 Photo 23
- Collectibles 11 and 12, mess hall (map not valid): on the helipad side, enter the building named Mass Hall. One is on the bottom floor next to some boxes right after the door, the other on the top floor next to a camera.
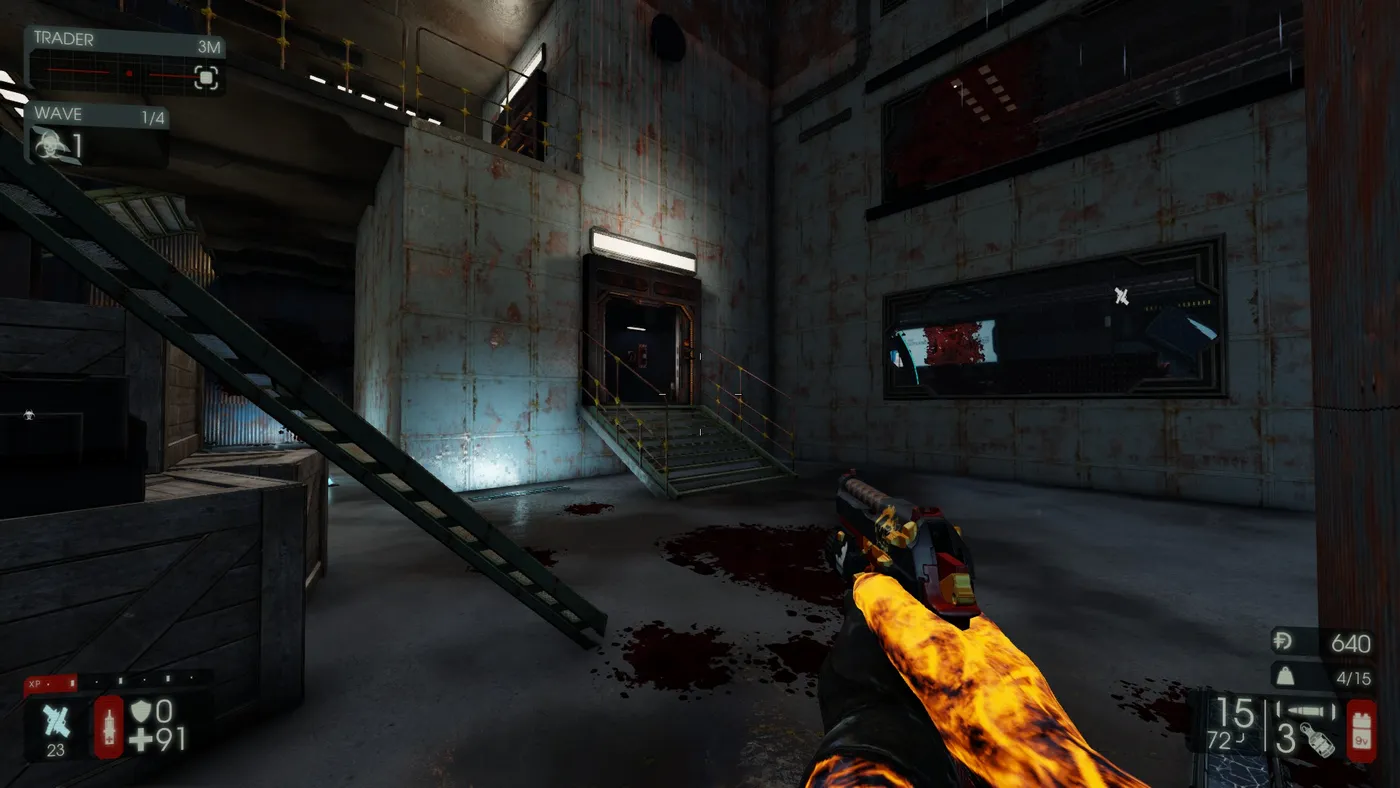 Photo 24
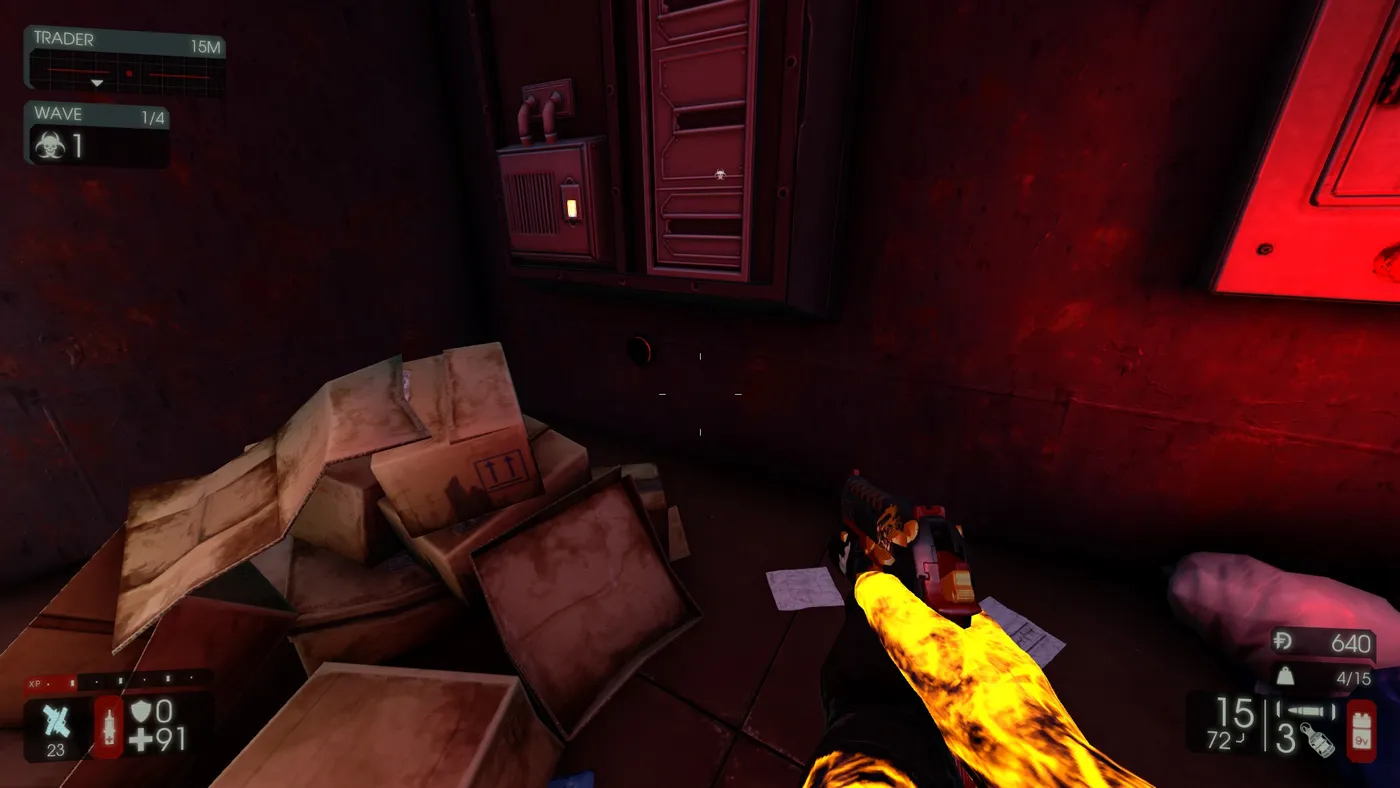 Photo 25
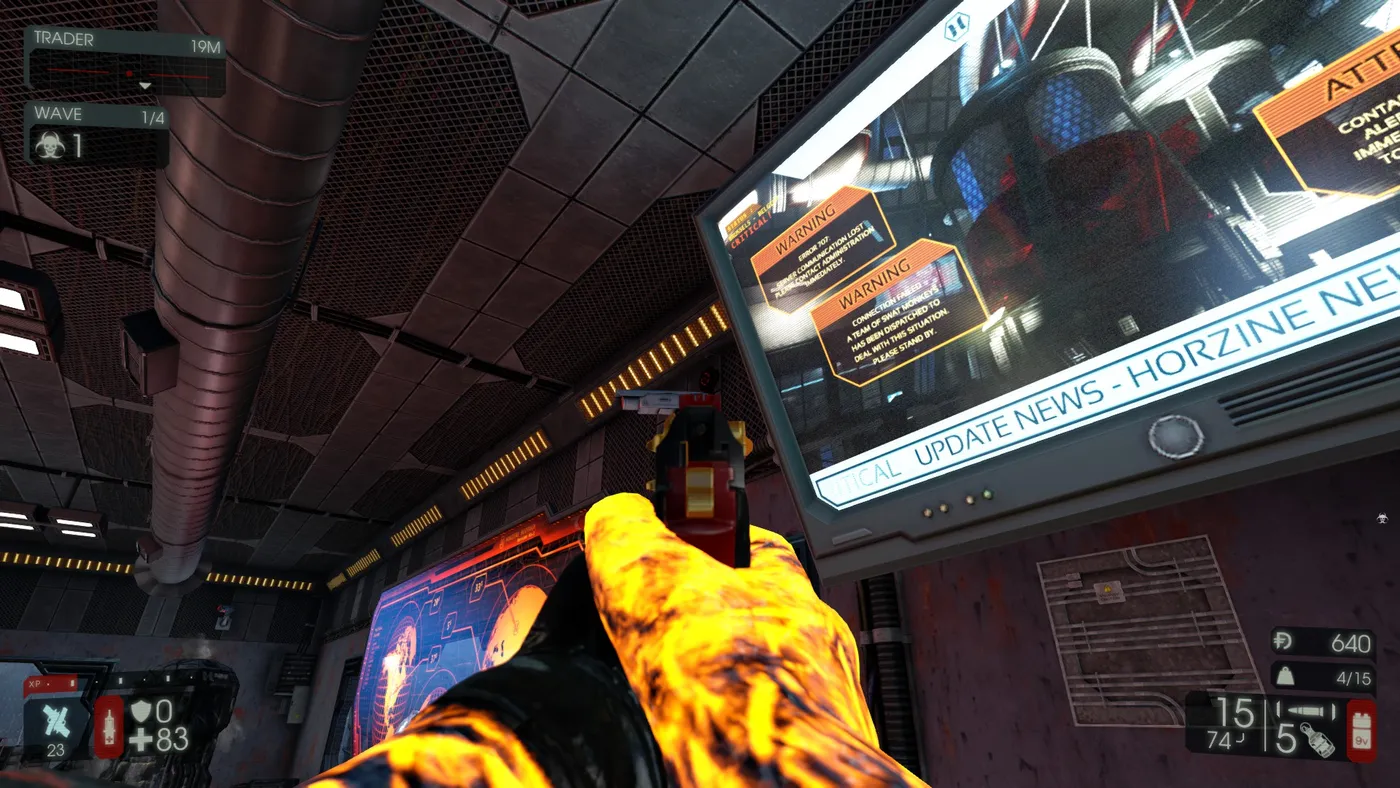 Photo 26
- Collectible 13, helipad (map not valid): run to the helipad. It is at the center between the boxes.
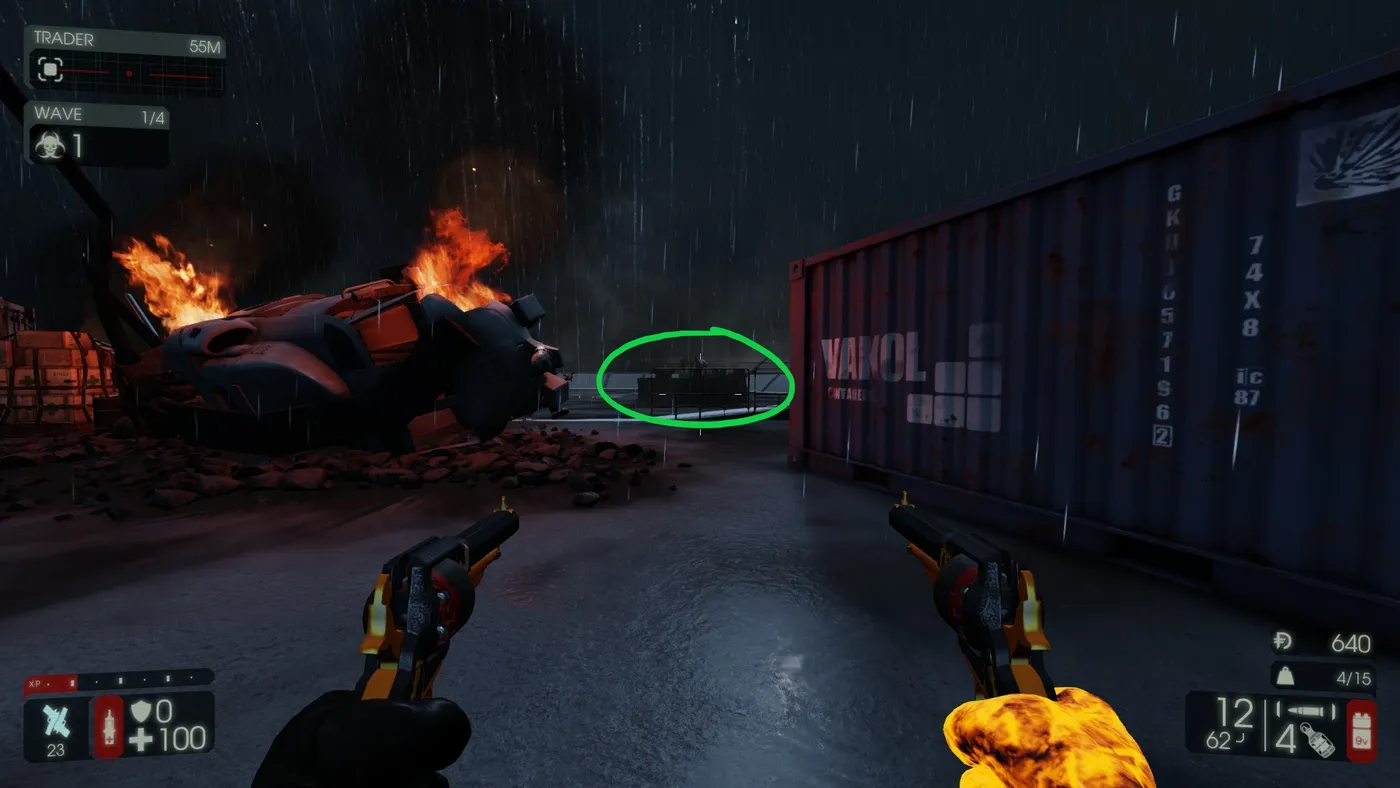 Photo 27
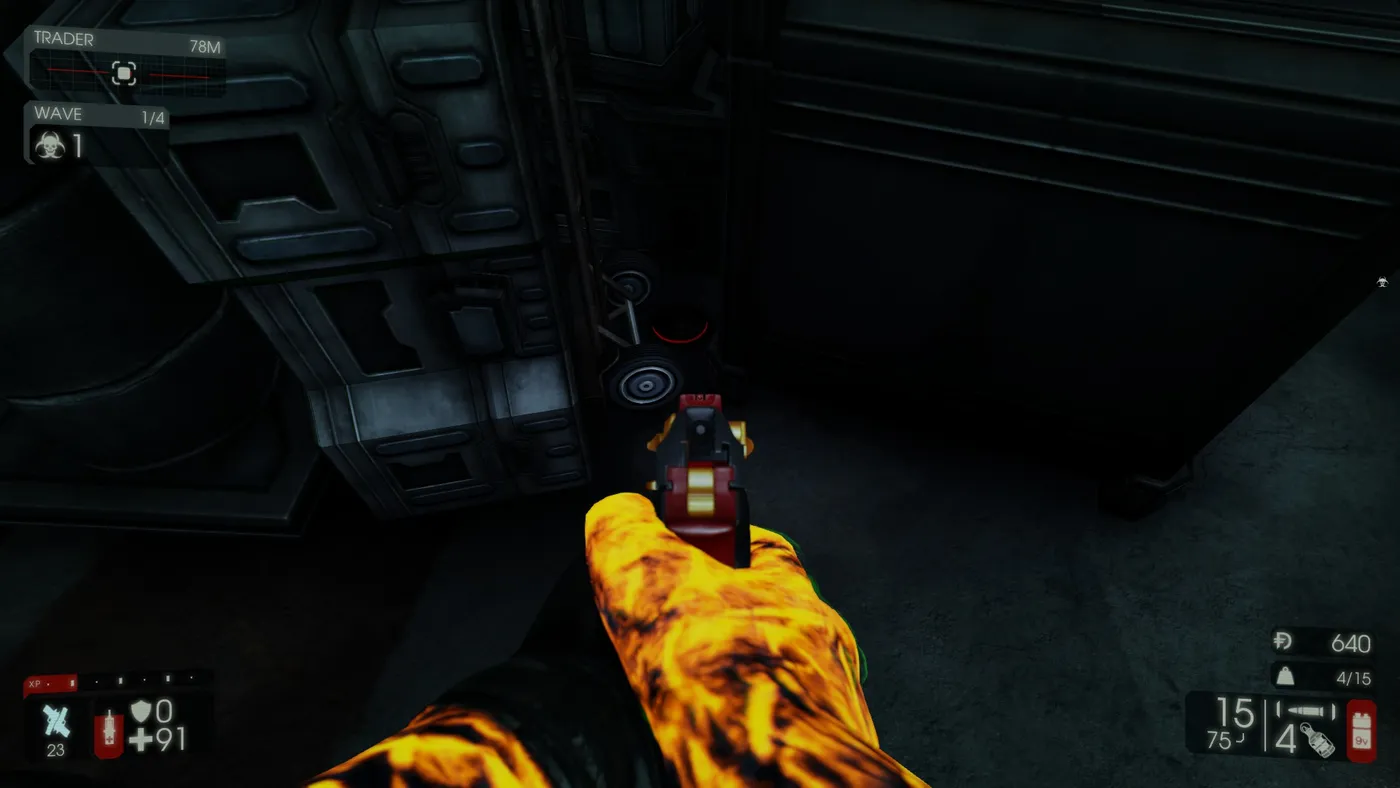 Photo 28
- Collectibles 14, 15 and 16, center area blue containers: where you found the yellow and white crane collectibles, three more can spawn. One on the corner of the top container, one inside the bottom container and one on a pair of black boxes right before the staircase.
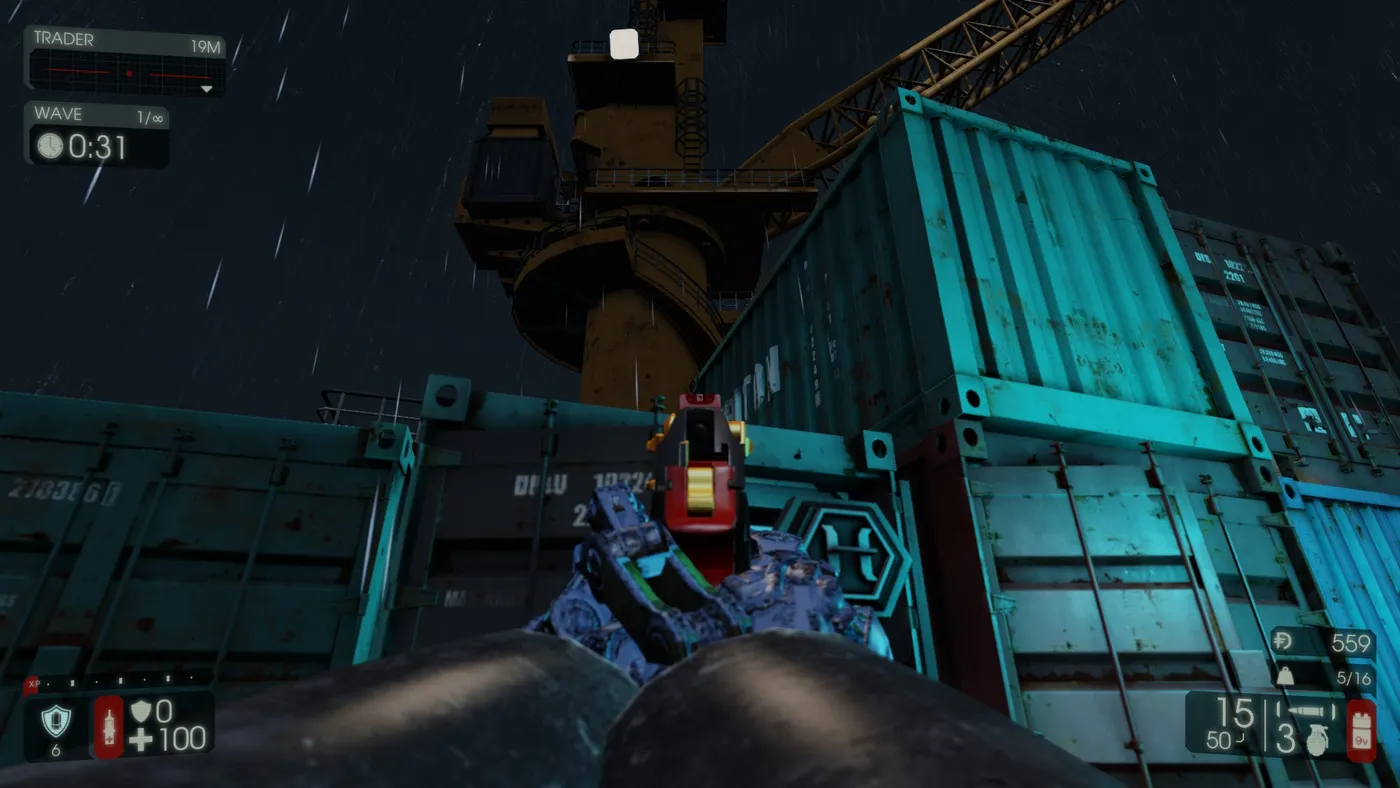 Photo 29
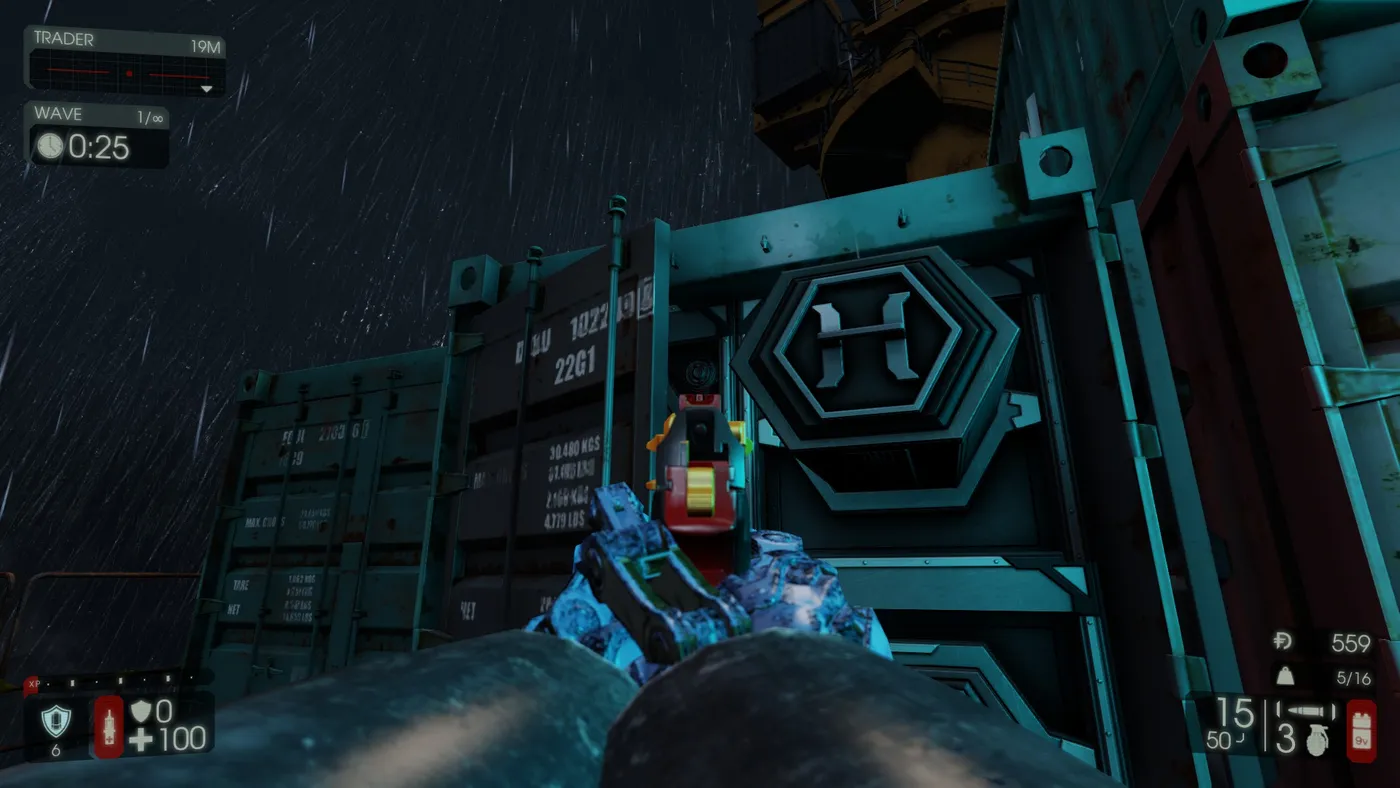 Photo 30
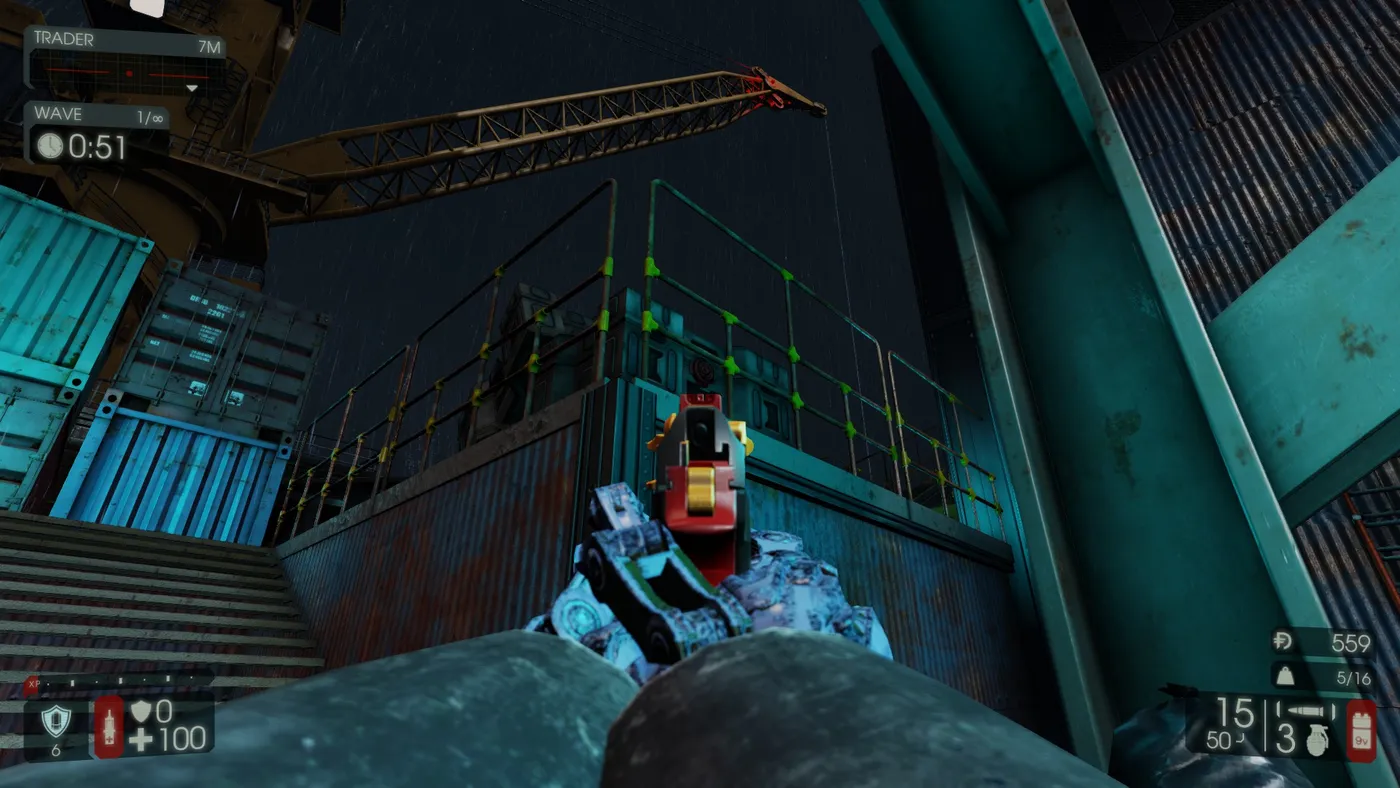 Photo 31
- Collectible 17, big yellow crane (outside): run to the top floor of the hangar area and out onto the catwalk to see the huge yellow crane. It is on the round bottom part.
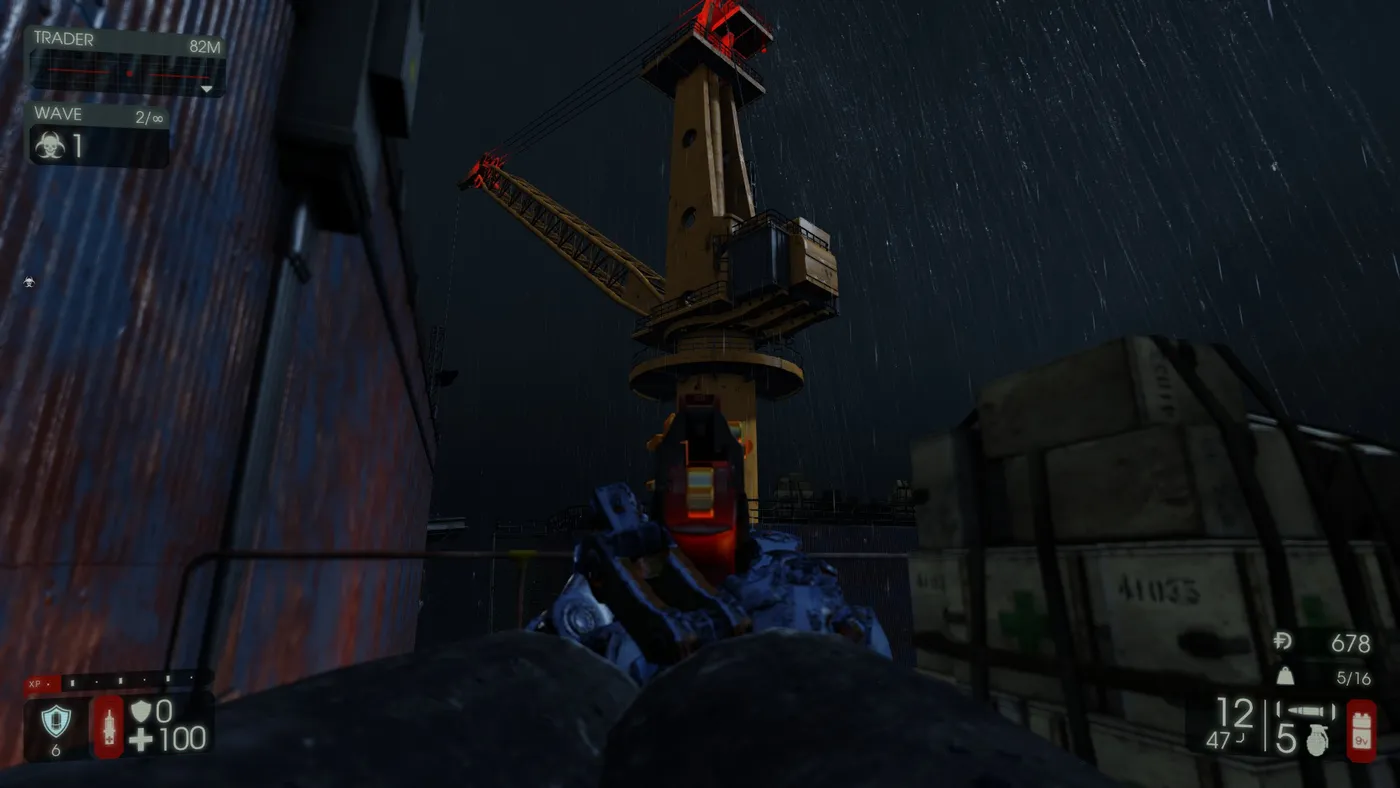 Photo 32
FAQ
- What difficulty should I use for the Rig collectible run?
- Start KF_Rig on short length and normal difficulty, then kill every Zed except one so the wave does not end.
- Which Zed is easiest to keep alive?
- A Bloat. It never runs and is easy to spot when you pick which Zed to spare.
- Do the collectibles always spawn in the same places?
- No. Some seem to have no fixed spawns, so the guide keeps adding spots as the author finds them. The map markers are approximate; the descriptions and photos are what matter.
